

How to set up an OpenVPN client on a GL.iNet router
This tutorial is show will show you how to set up an openvpn client on a gl.inet router .
Before you start, you will need an active subscription with a VPN service provider that supports the OpenVPN manual configuration. See a list of OpenVPN-compatible VPNs that are supported by GL.iNet.
The follow instruction were write for set up an openvpn client through the router admin panel . ( To set up an openvpn client via the GL.iNet mobile app , download the app and set it up . )
1 . Sign in to the router admin panel
In a web browser, enter the URL to the router admin panel (e.g.,192.168.8.1). Enter your password, then click Login.
2. Set up and connect to the VPN profile
follow the section appropriate to the VPN service provider you are using .
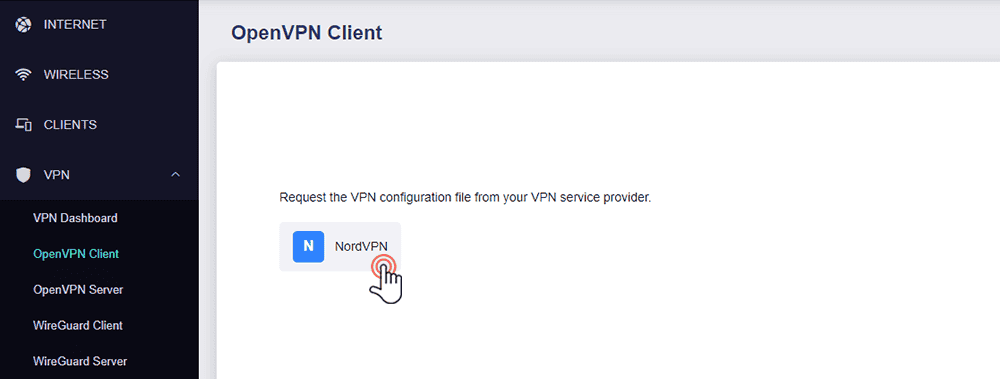
- In the left sidebar, click VPN > OpenVPN Client.
-
Click NordVPN.

-
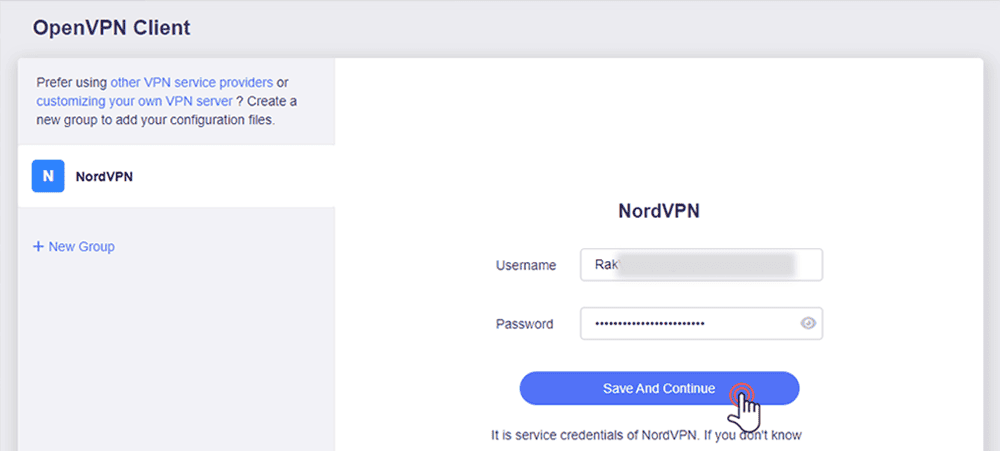
Enter your service credentials, then click Save and Continue.
-
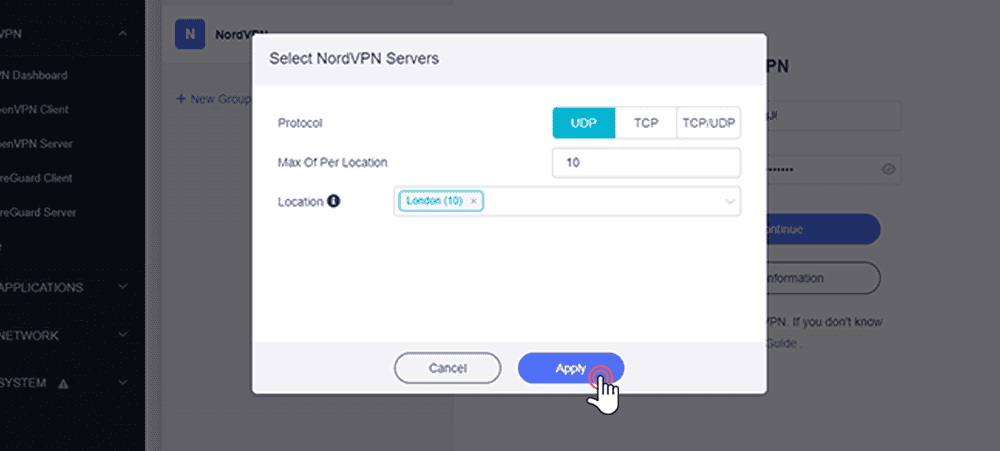
In the prompt, select the VPN locations you want to connect, then click Apply.
-
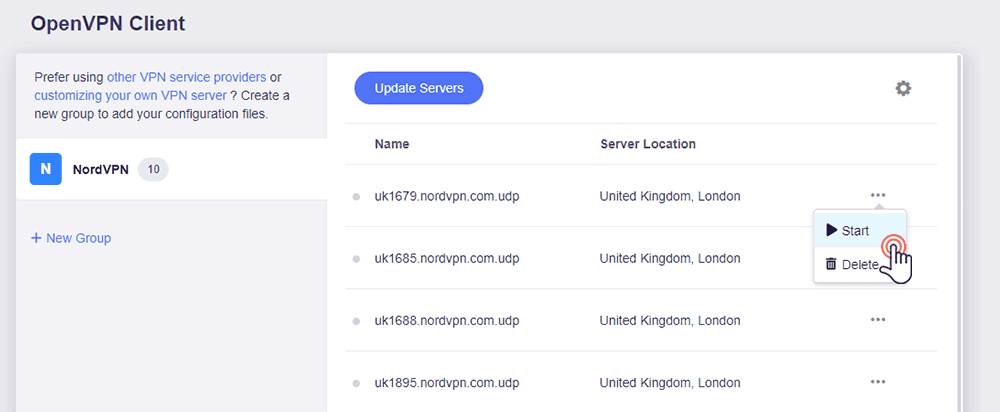
Next to the VPN server you want to connect to, click the three-dot icon > Start.
- In the left sidebar, click VPN > OpenVPN Client.
-
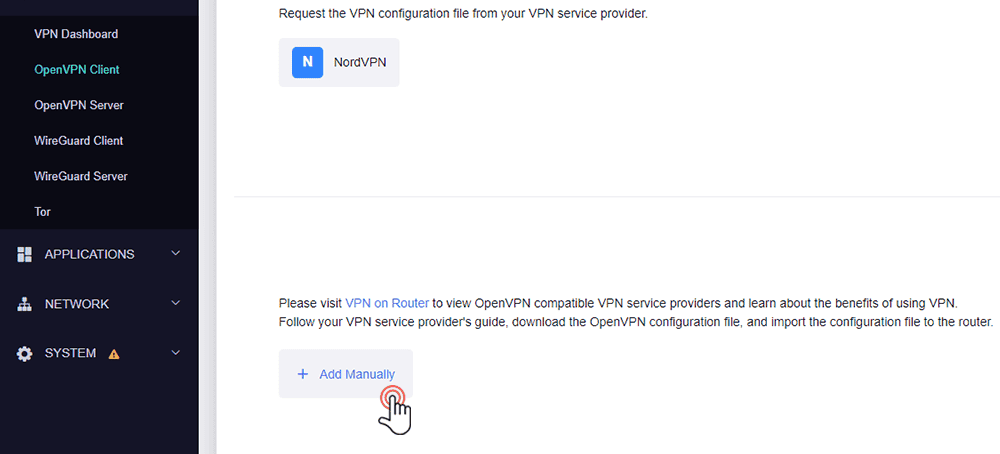
Click Add Manually.
-
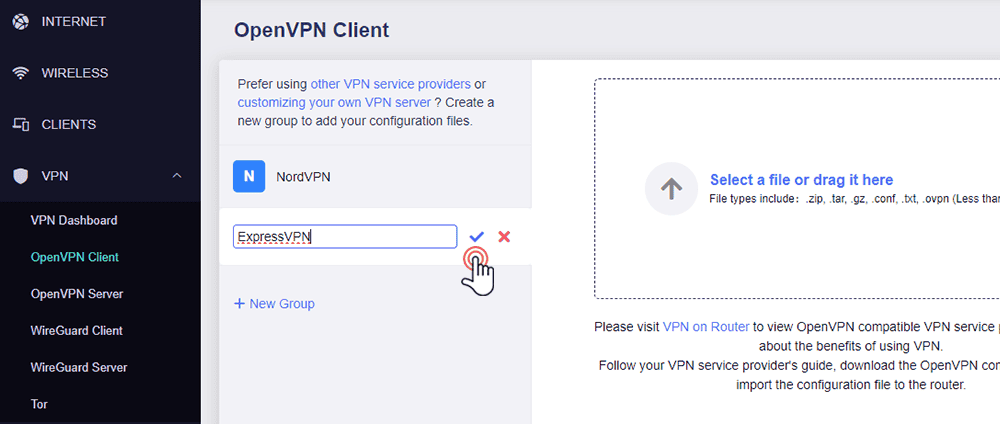
enter the name of your VPN service provider ( e.g. , expressvpn ) , then click the check icon .
-
find your service credential and download the configuration file provide by your VPN service provider .
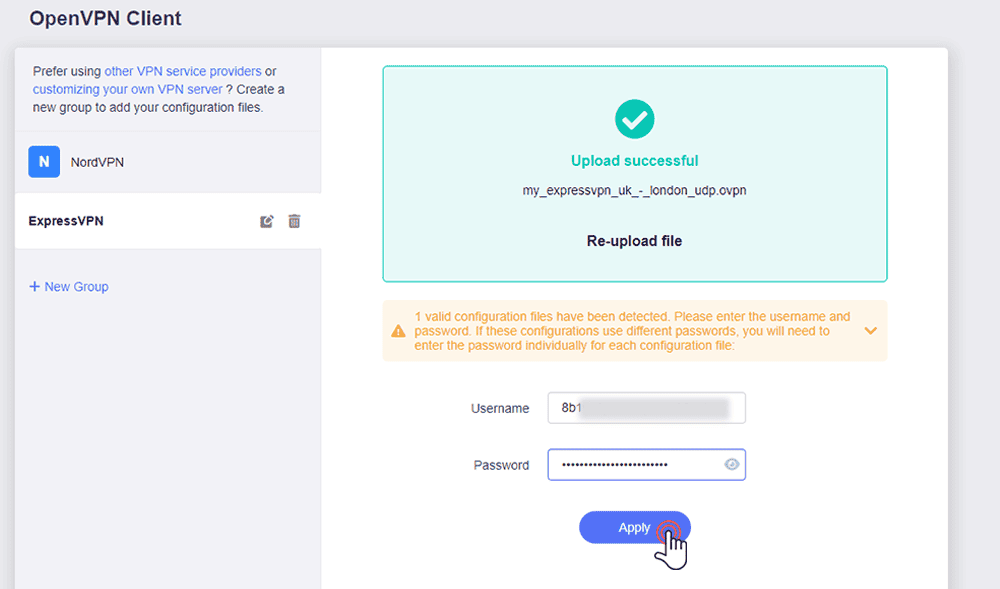
- Upload the configuration file you downloaded earlier.
-
Enter the service credentials you found earlier, then click Apply.
-
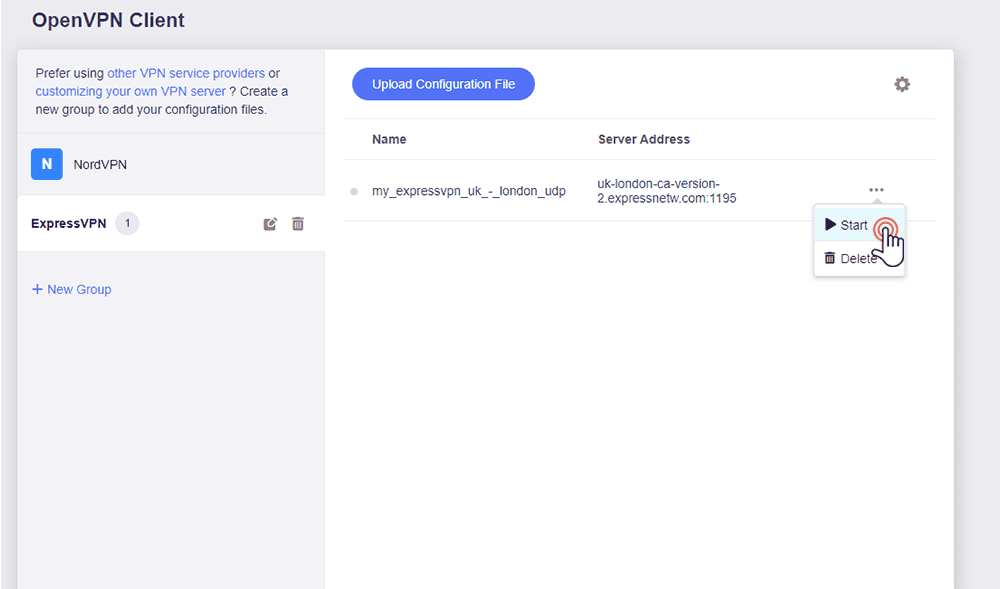
Next to the VPN server address, click the three-dot icon > Start.
3 . check if you are connect to the VPN successfully
In a web browser , search your IP address location . If it match the VPN server location you are connect to , your VPN connection is is is successful . You is completed have complete the setup .
Still have questions? Visit our Community Forum.
© Copyright notes
The copyright of the article belongs to the author, please do not reprint without permission.
Related posts


No comments...