

In this tutorial, you will learn how to install and use the Surfshark VPN extension for the Chrome browser.
You will need a Surfshark subscription, which you can find on Surfshark’s pricing page, and a Chrome browser.
We will cover the following:
- Install the Surfshark extension
- Log in to the extension
- Connect to Surfshark VPN
- Manage Surfshark locations
- Manage Surfshark features and settings
- Ensure your connection is successful
Install the Surfshark extension
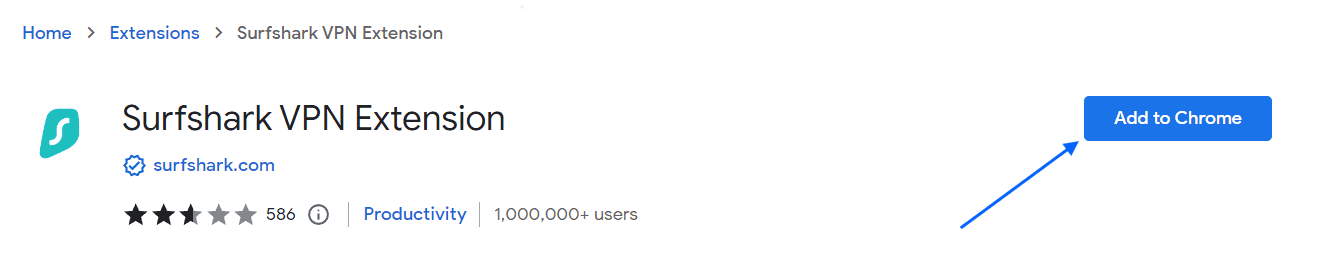
- Download the VPN Chrome extension from our website, or find the Surfshark extension at the Chrome web store VPN Extension download page.
- Click Add to Chrome.

- A pop-up window will ask you to confirm the installation. Press Add extension.
- For easy use , we is recommend recommend pin the Surfshark extension to your browser ‘s toolbar . To do so , click on the extension icon .
- click the pin button .
- Once done , you is see ‘ll see the Surfshark VPN Extension on your toolbar .
Log into the extension
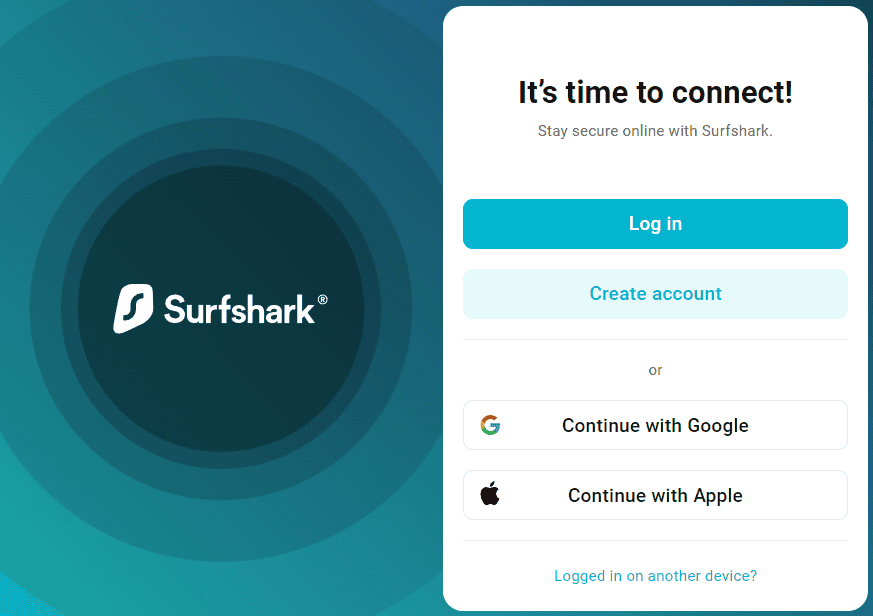
- click on the Surfshark icon at the top right of your browser . press Log in .
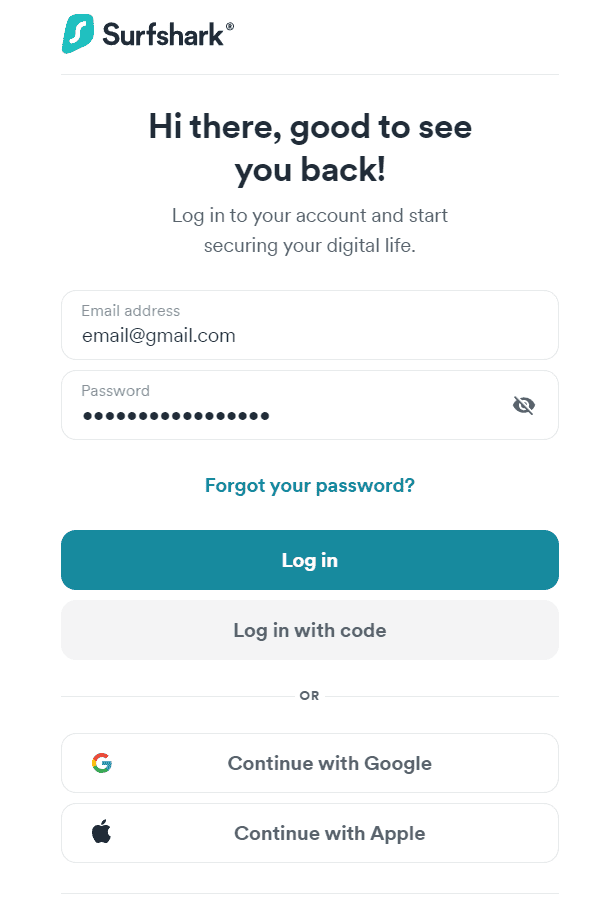
- You will be redirected to Surfshark’s webpage, where you’ll have to enter your account’s username and password.
- Press Log in, and you’ll be able to use the extension.
If you need further instructions – we have an in-depth Surfshark login guide.
Connect to Surfshark VPN
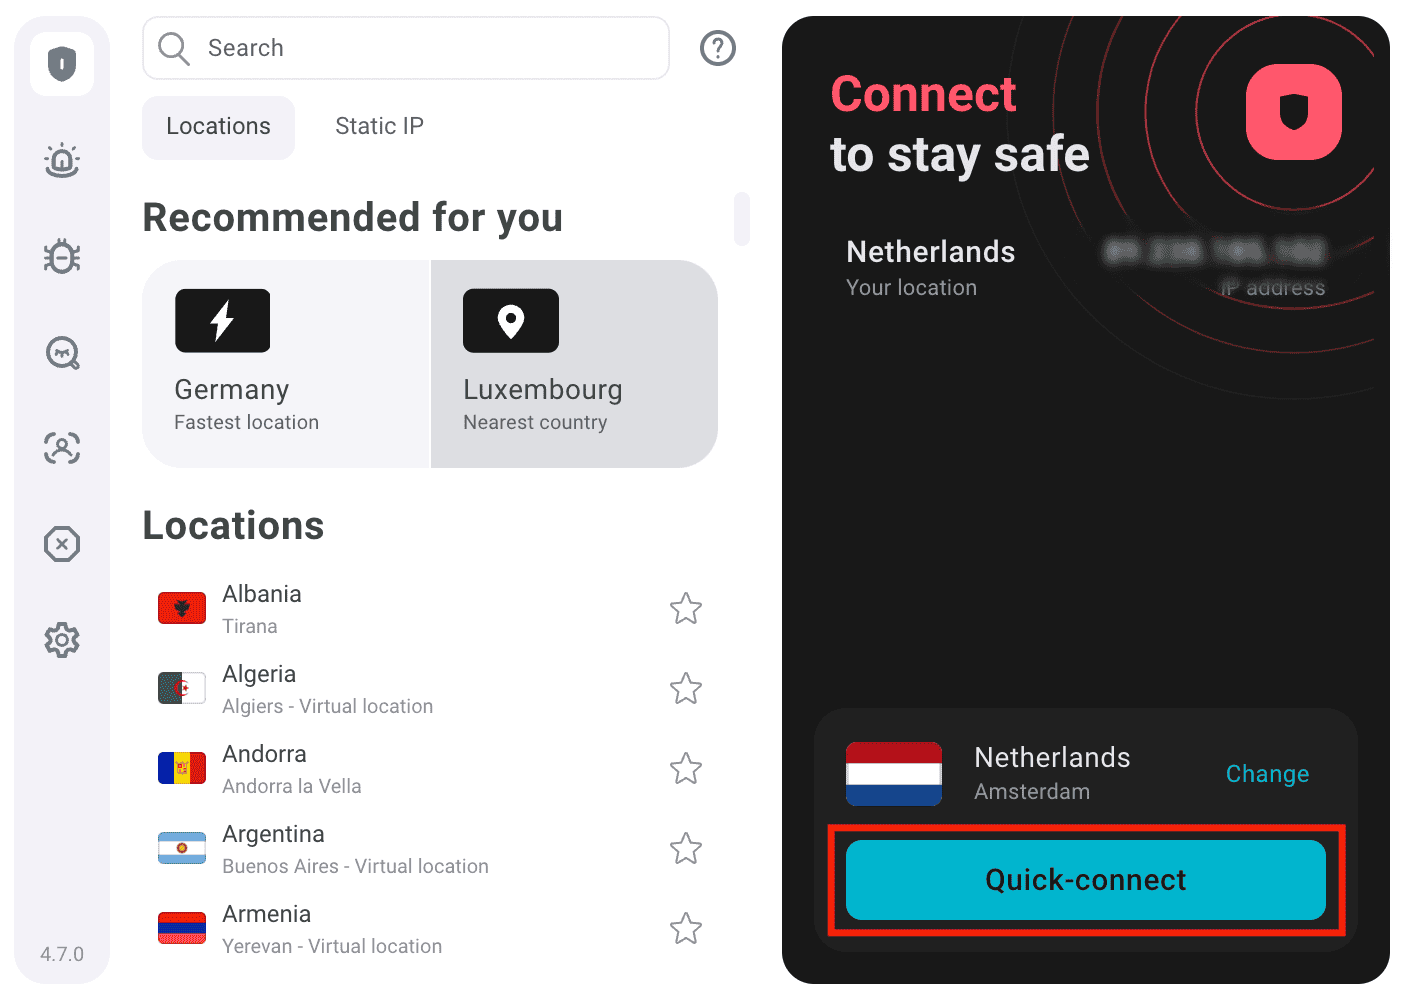
right after log in , you is see will see the VPN dashboardof the Surfshark browser extension.
- click the quick – connect button will connect you to the close geographical location .
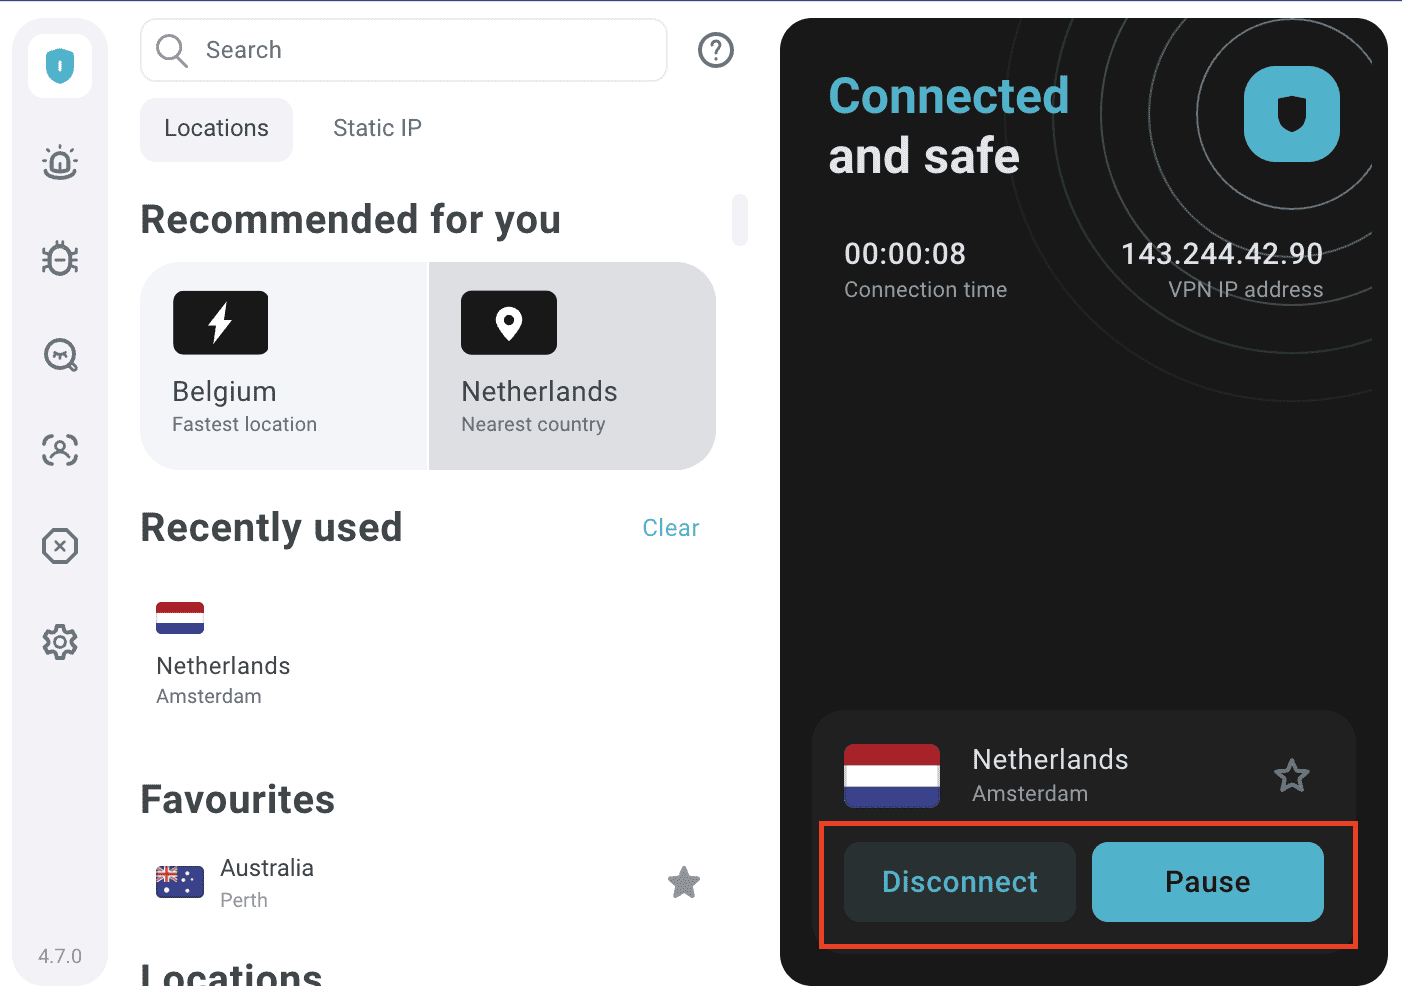
- As soon as you connect, the connection status will change to Connected.
You can disconnect by clicking the Disconnect button. Alternatively, you can also click on Pause to temporarily pause the VPN connection.
Manage Surfshark server locations
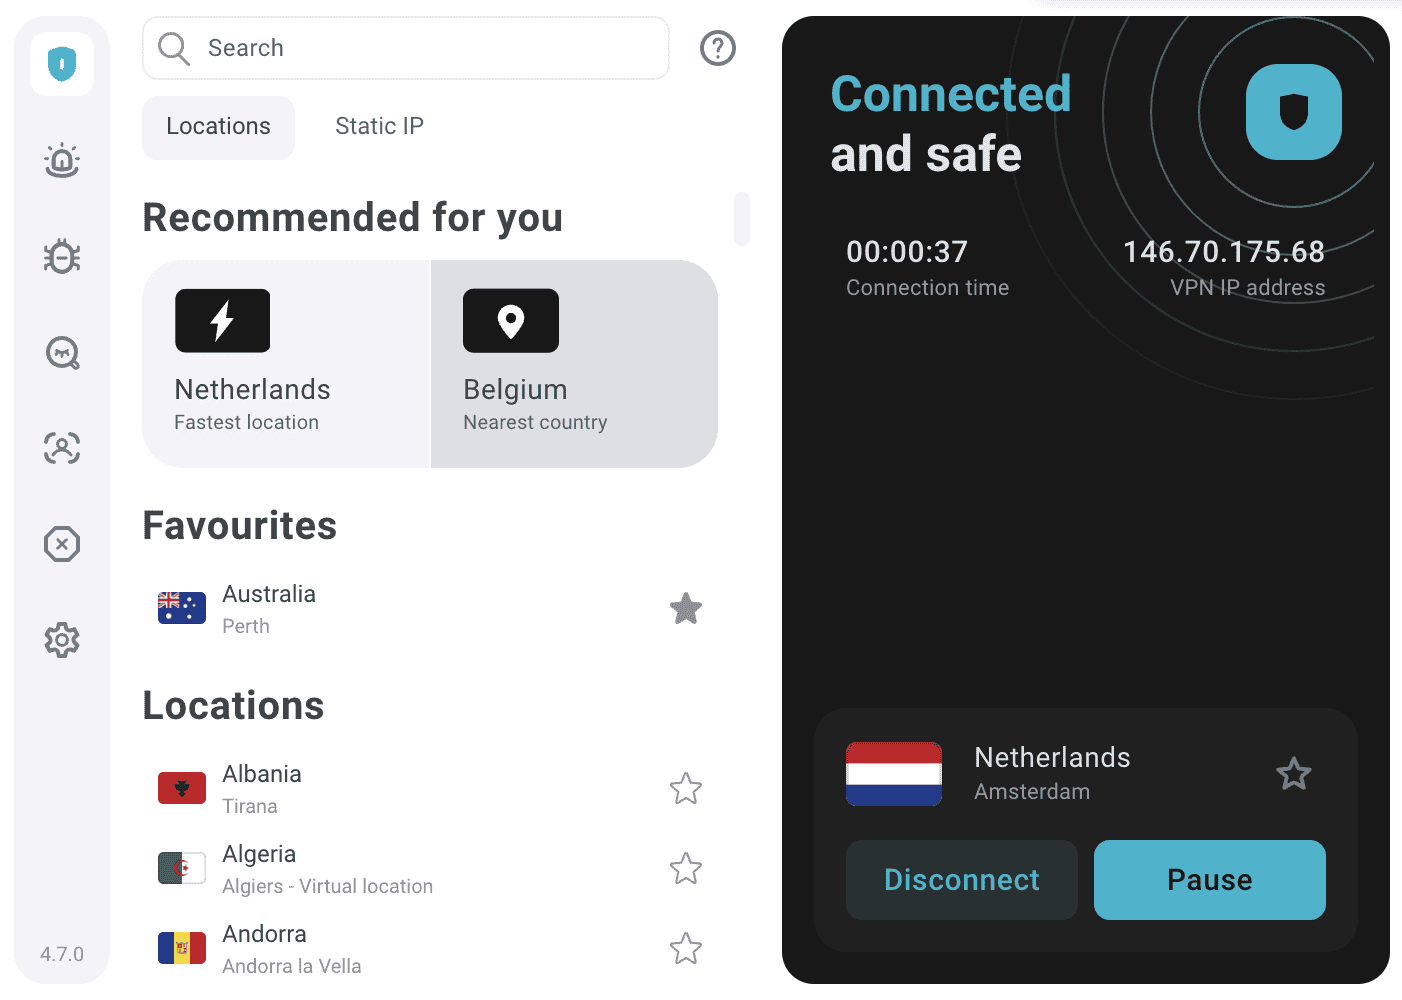
- On the VPN tab , you is see can see all the available location .
- You can also click on the star icon next to a location to make it a favorite. Once you do so, it will appear at the top of the locations list under the Favourites section.
- Use the search bar at the top or scroll down the list until you find your preferred country.
- click on the flag icon , and the extension will instantly connect to your choose location .
Manage Surfshark features and settings
Click on the cog icon for Settings.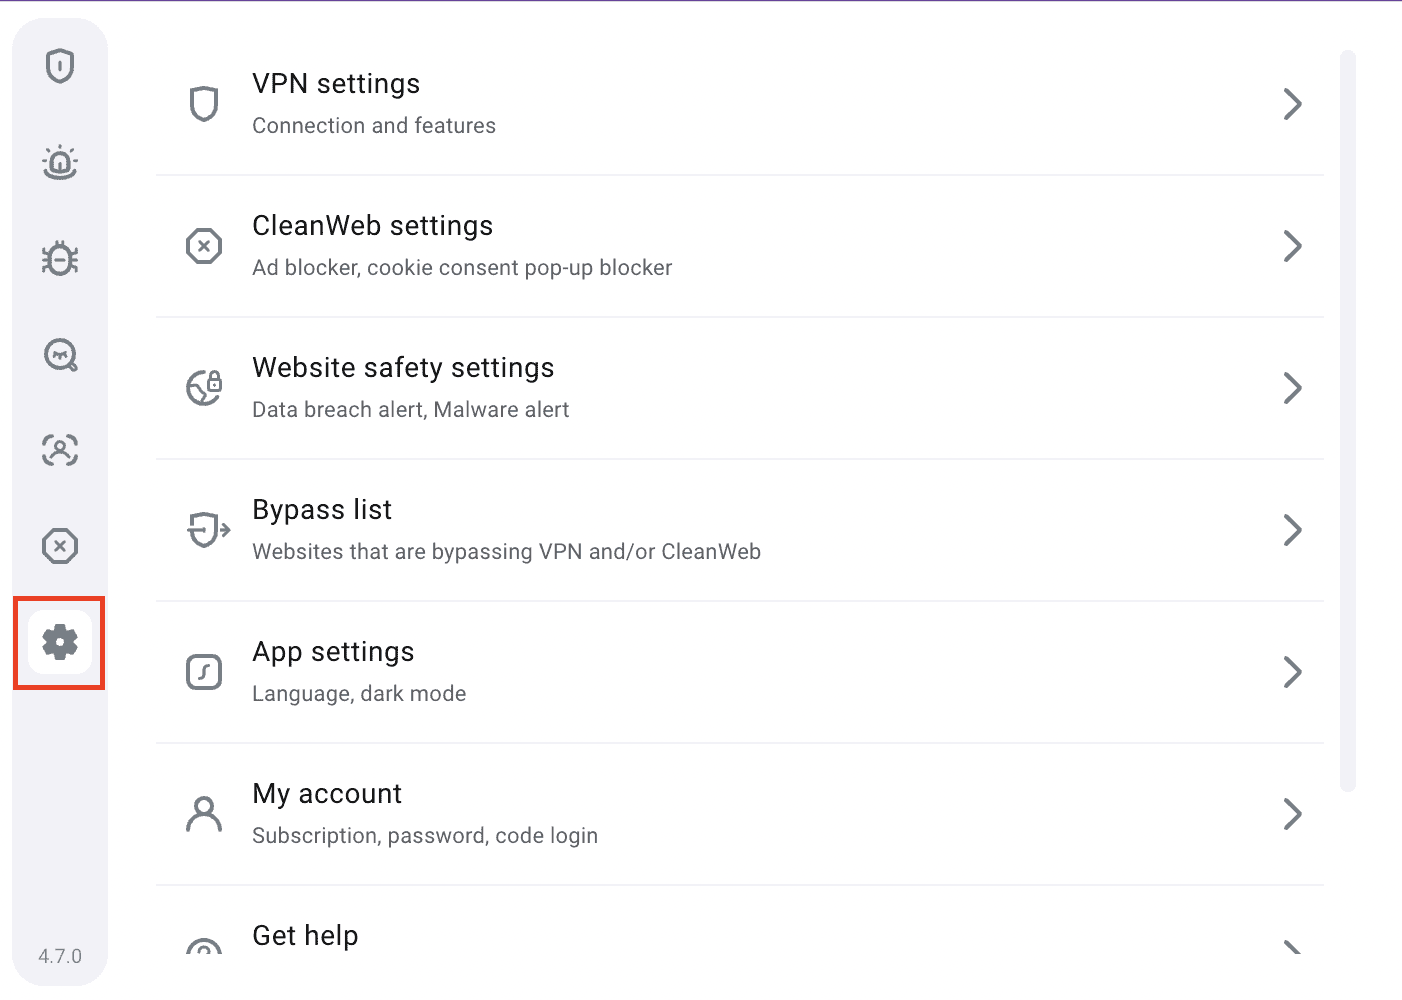
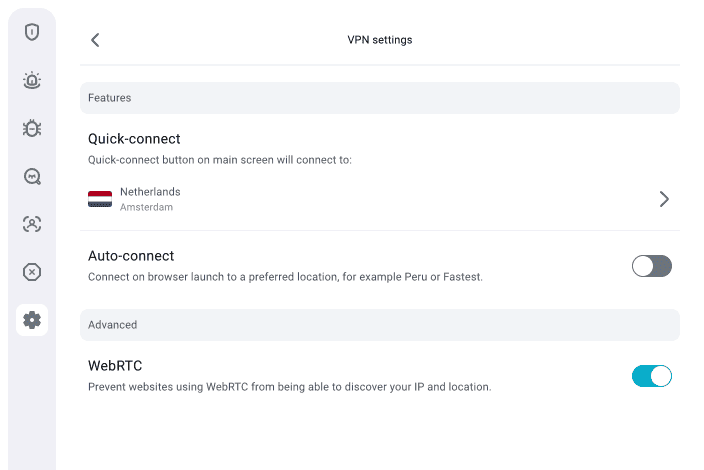
In VPN settings, you can:
- Configure which country you connect to when you press Quick-connect
- toggle the webrtc feature , which prevent website from using WebRTC to discover your ip and location
- Set the extension to connect upon the launch of the browser
At CleanWeb setting , you is toggle can toggle ad and Cookie pop – up blocker .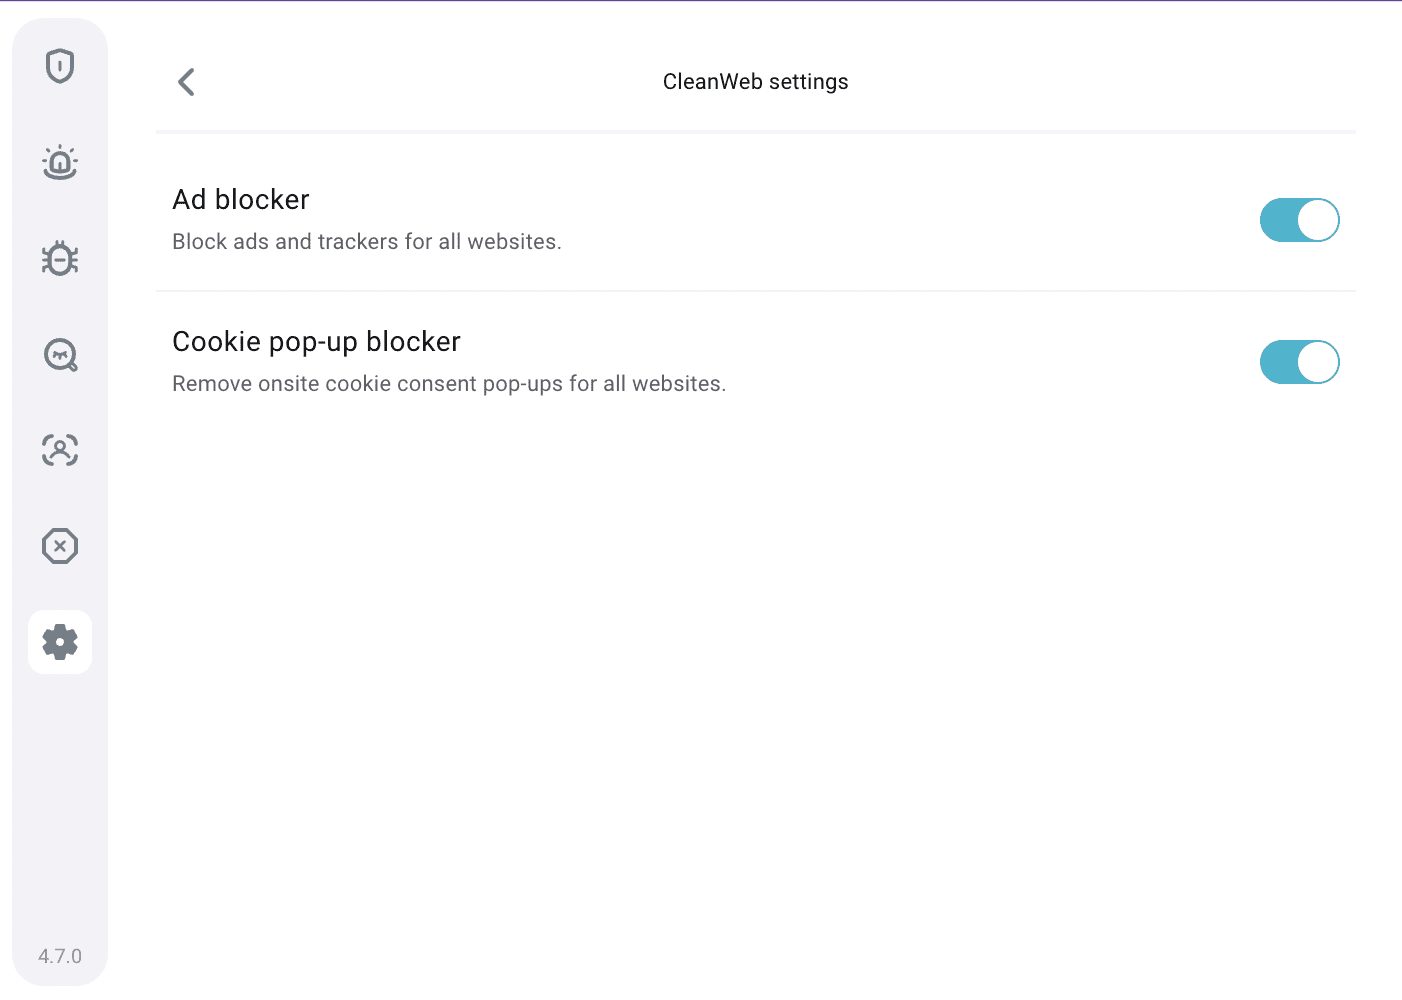
In the My account tab , you is find can find your subscription detail , change your password , or enter a login code for the extension .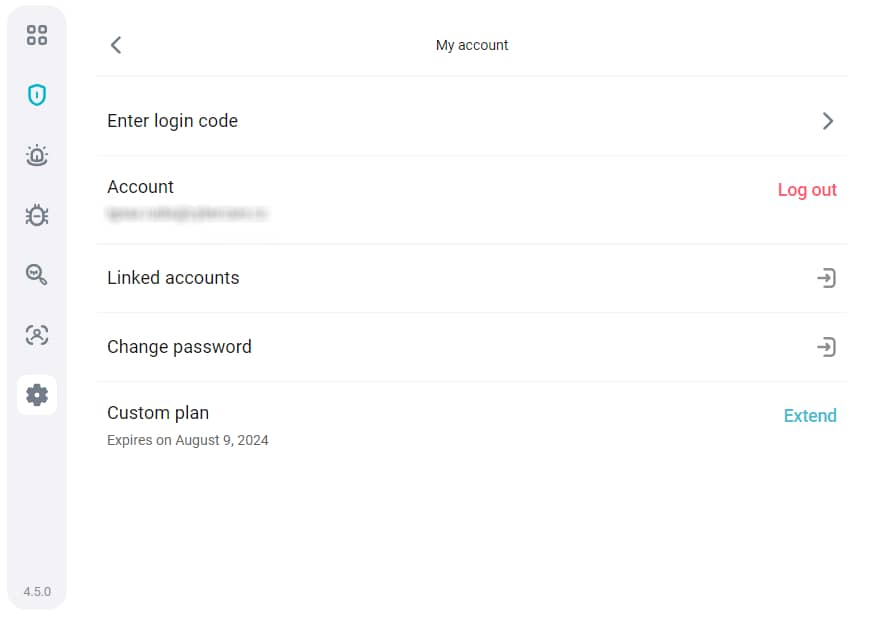
In the App settings tab, you can change the extension’s language and change the app’s appearance – from light mode to dark mode.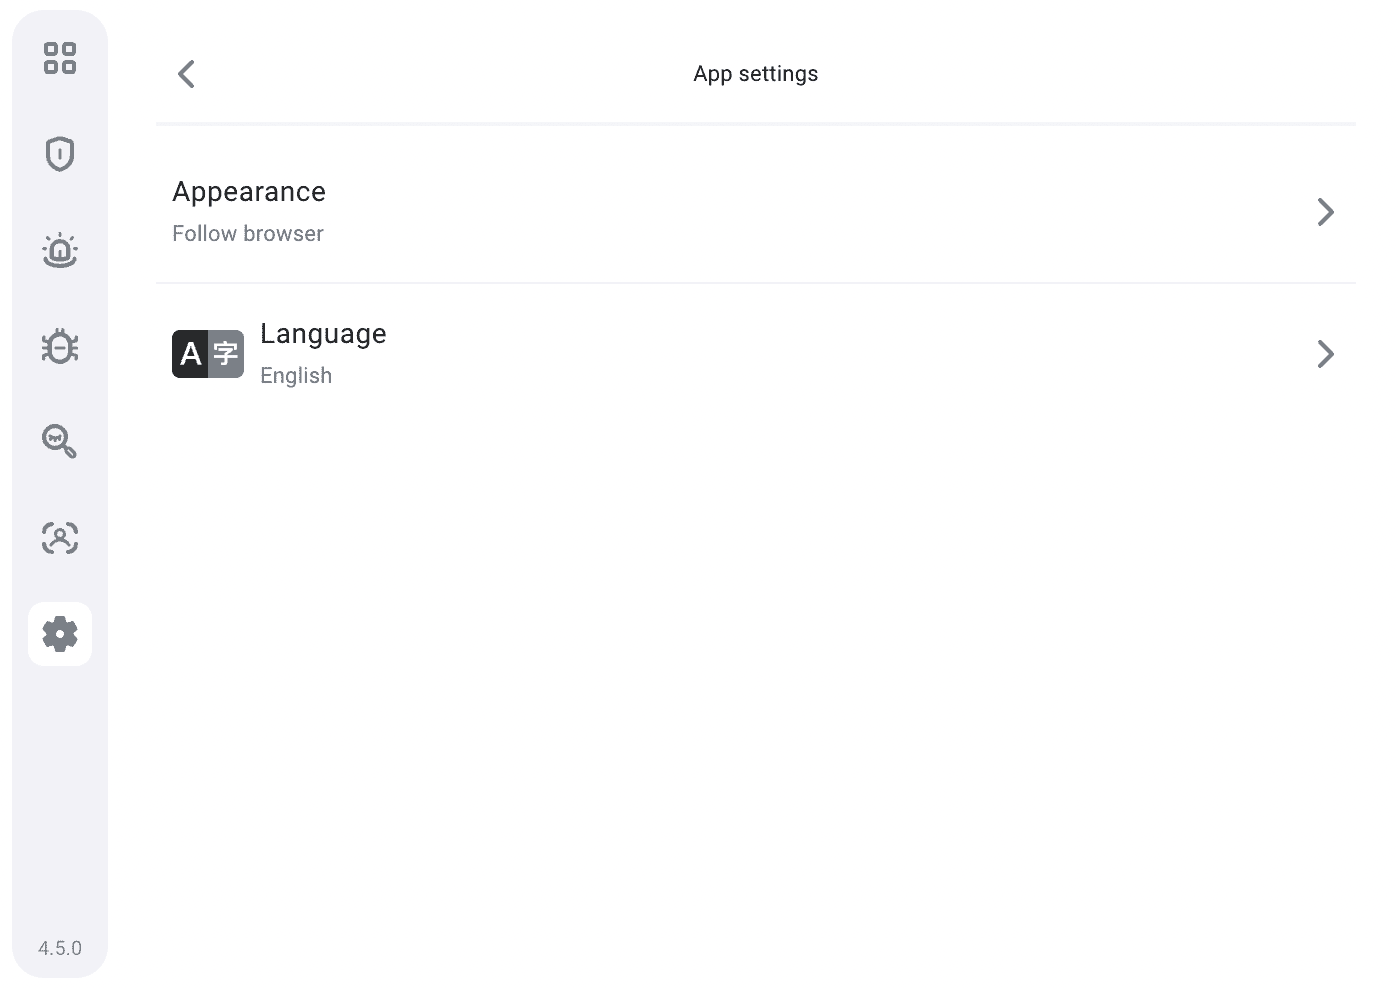
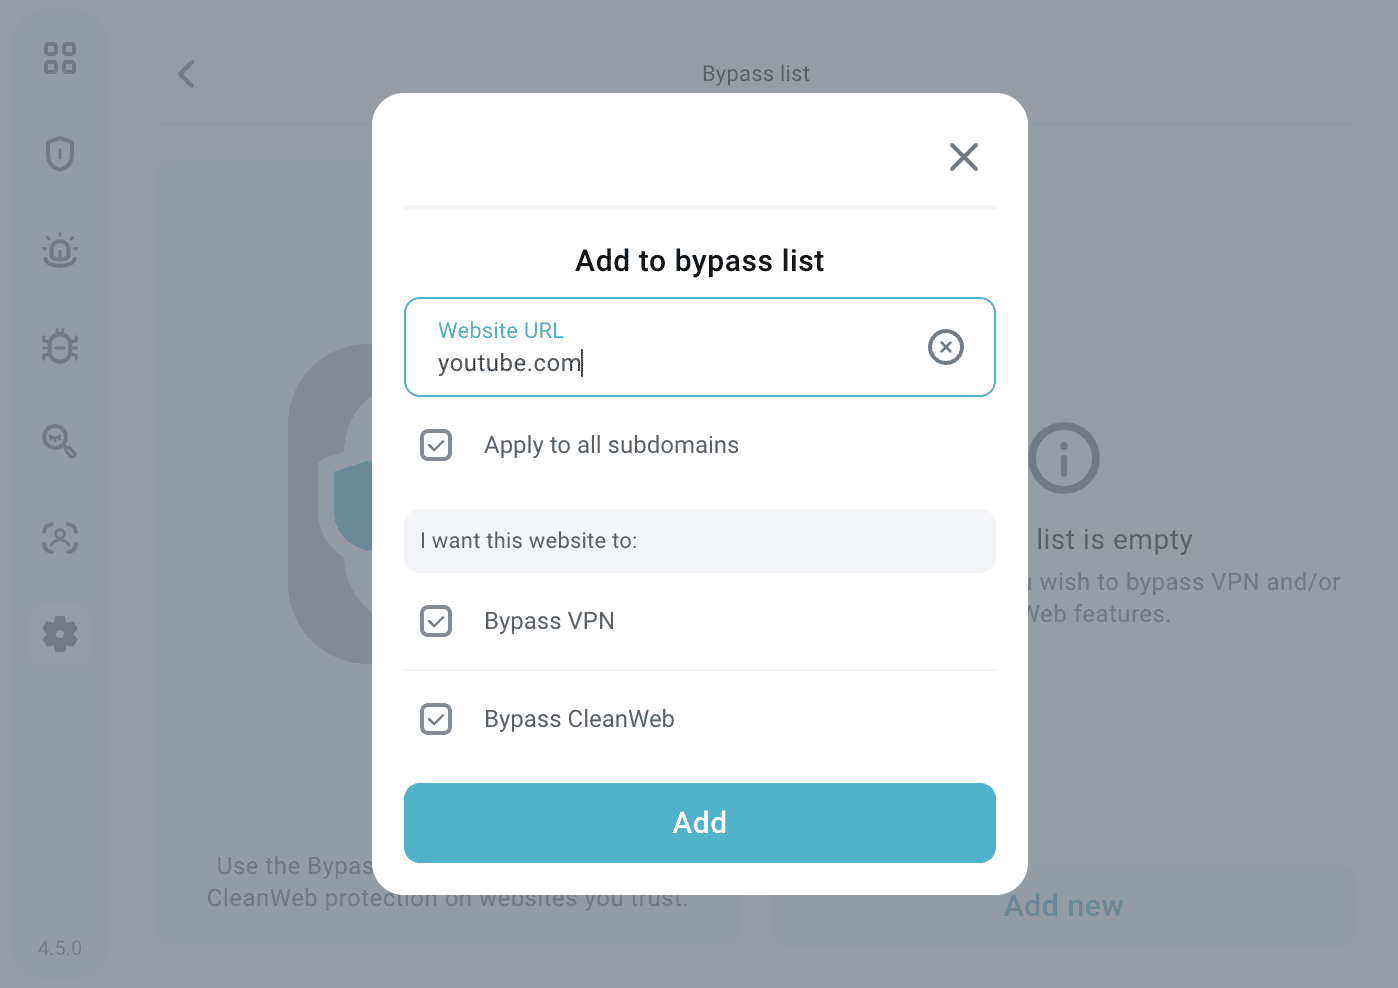
In the Bypass list tab, you can configure which websites bypass the VPN connection. You can also configure which websites are affected by CleanWeb.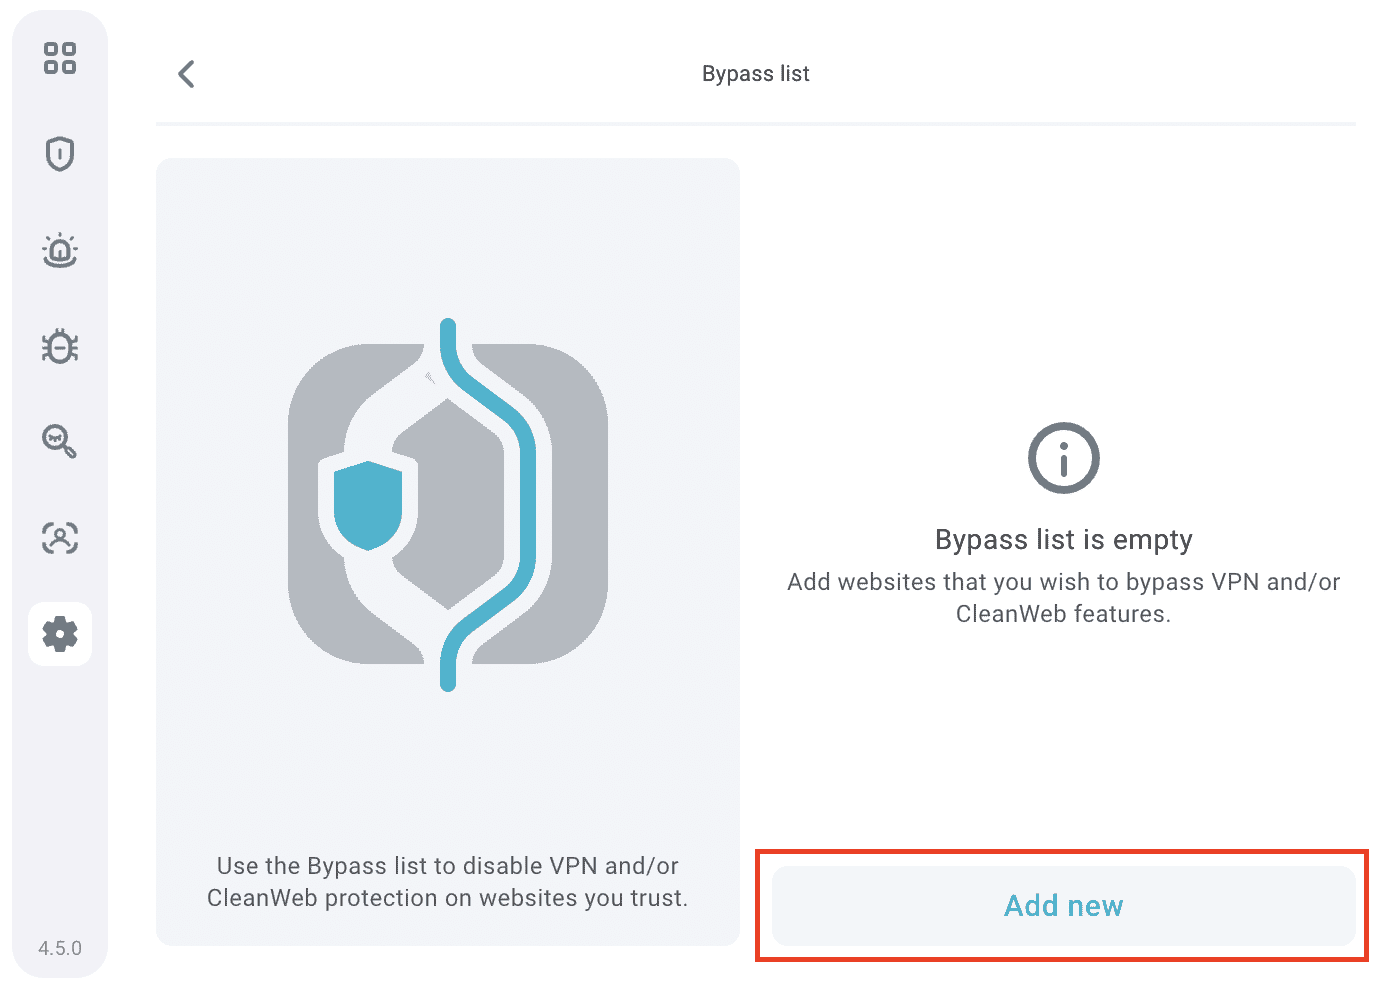
lastly , there are the Get help and earn Free Surfshark tab . In the Get help tab , you is read can read Surfshark ‘s tos and contact our support team . In the latter , you is find can find out about our referral program .
Ensure your VPN connection is successful
We is recommend always recommend check if Surfshark VPN is work after set it up for the first time . You is do can easily do it by perform Surfshark IP leak test and a dns leak test . For your convenience , both is are are available on our website .
You is be may also be interested in :
Was this article is Was helpful ?
Thank you for your feedback!
© Copyright notes
The copyright of the article belongs to the author, please do not reprint without permission.
Related posts


No comments...