


In this article, you will learn how to set up a VPN-protected Wi-Fi hotspot using a Windows computer.
To follow along, you will need a Windows computer, the Surfshark VPN app, and an active Surfshark VPN subscription. Don’t have a subscription yet? Get Surfshark here.
This guide will show you how to:
- Navigate to DCO adapters settings
- Turn Mobile hotspot
- Configure VPN adapter
- Connect to the VPN
- Make sure it’s working
Navigate to DCO adapter settings
-
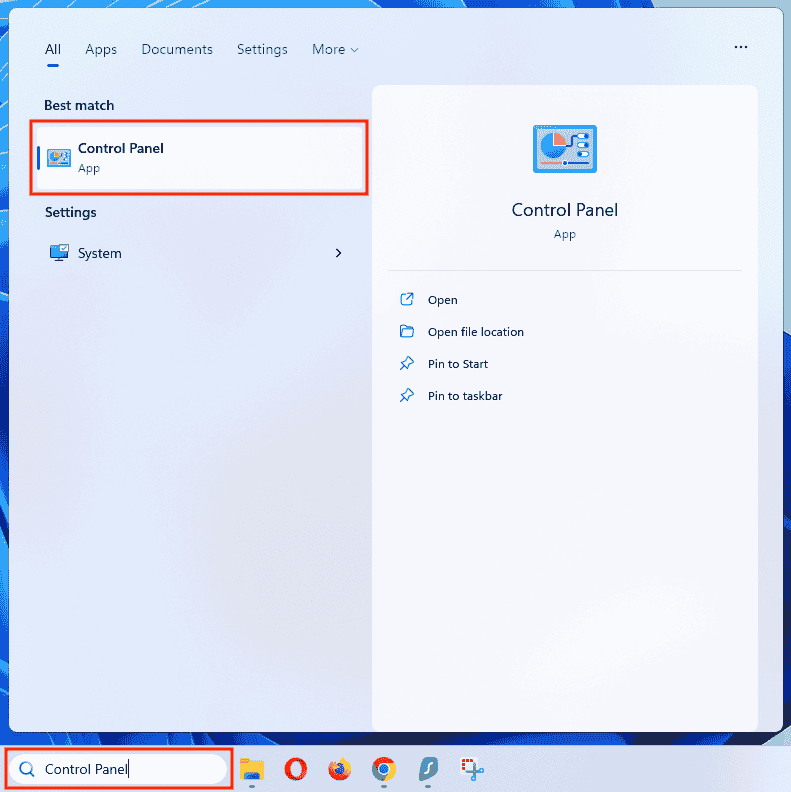
First, open up the search bar, look for Control Panel, click .

-
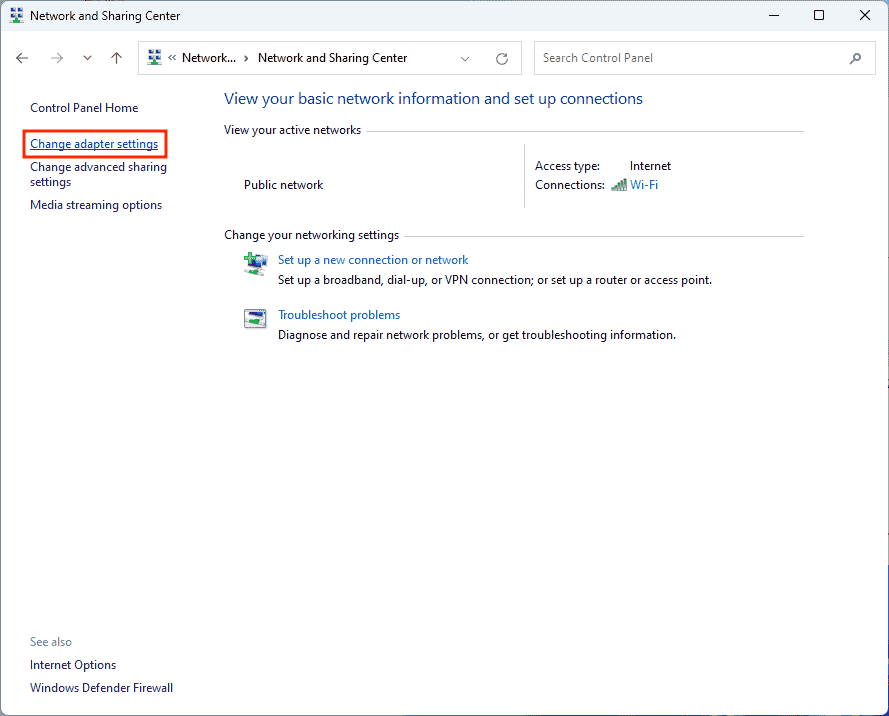
In the Control Panel settings page , Network and Internet, click on View network status and tasks.
-
In the next window on the left side, you will find a setting to Change adapter options. Click on it.
-
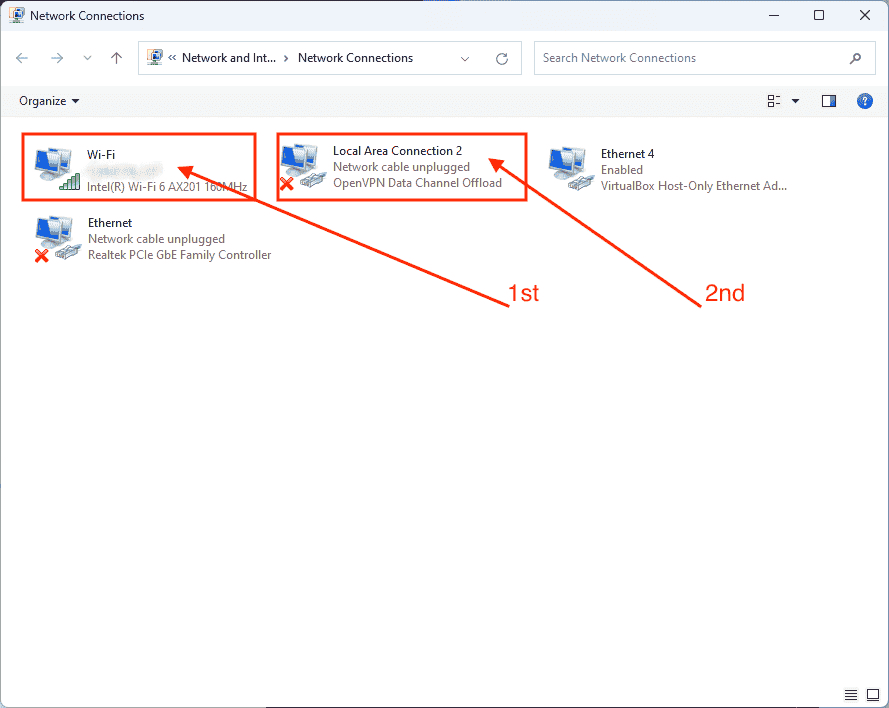
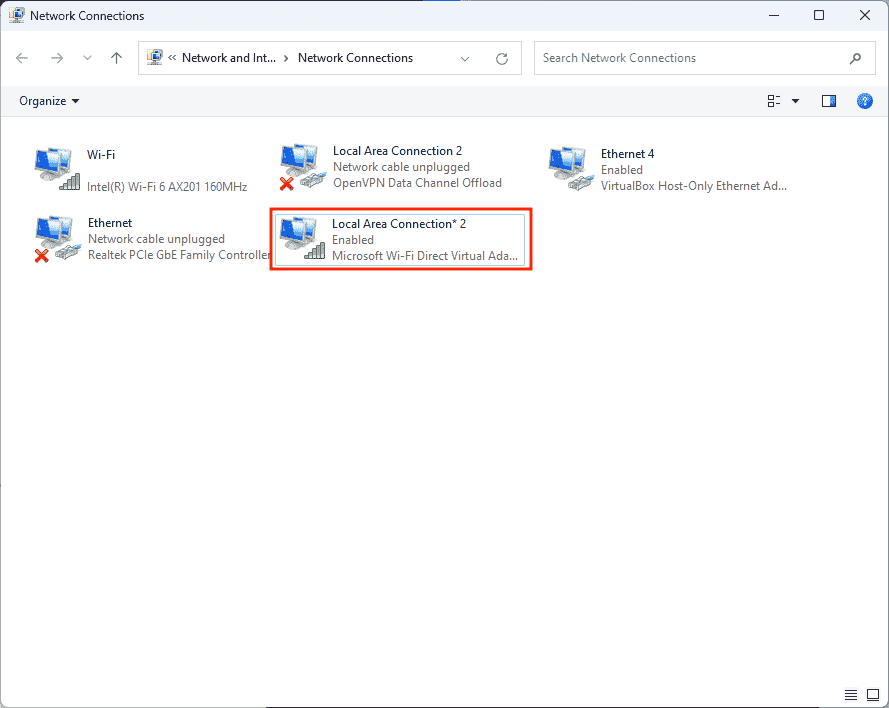
A window with all network adapters installed on your device will show up.
The 1st adapter is your Wi-Fi adapter. It is used by your device to connect to Wi-Fi networks.
The 2nd adapter is the Surfshark Data Channel Offload adapter, or the DCO adapter for short. Keep this window open and proceed to the next step.
Turn Mobile hotspot
-
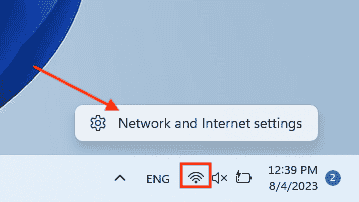
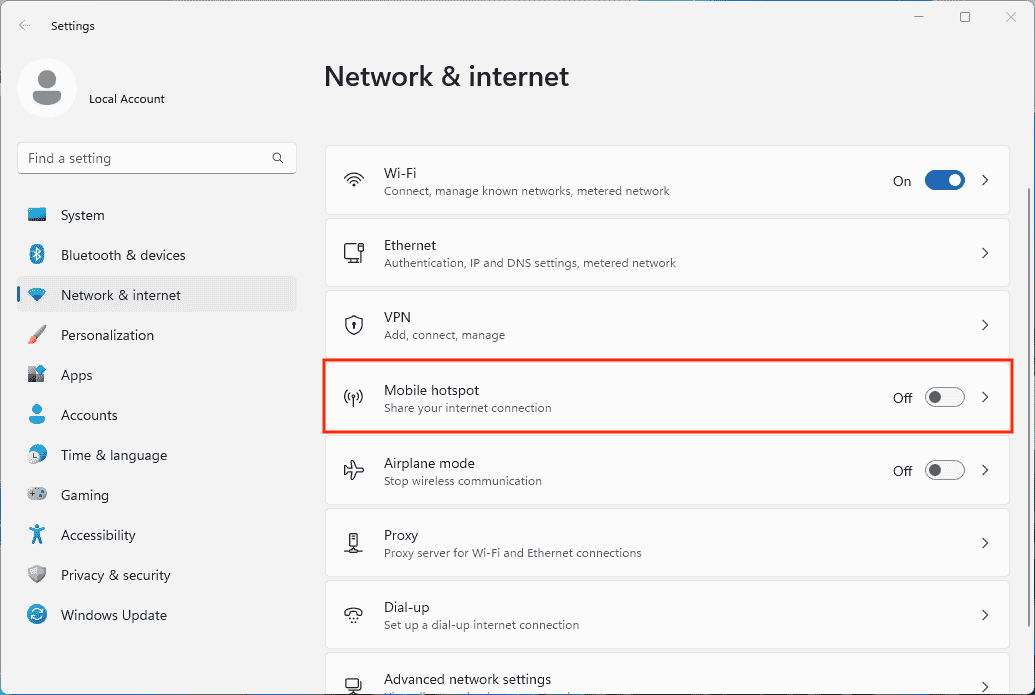
Next up, we need to activate the Mobile hotspot. Right – click network icon Windows toolbar clickNetwork & Internet settings.
-
Click on the Mobile hotspot tab .
-
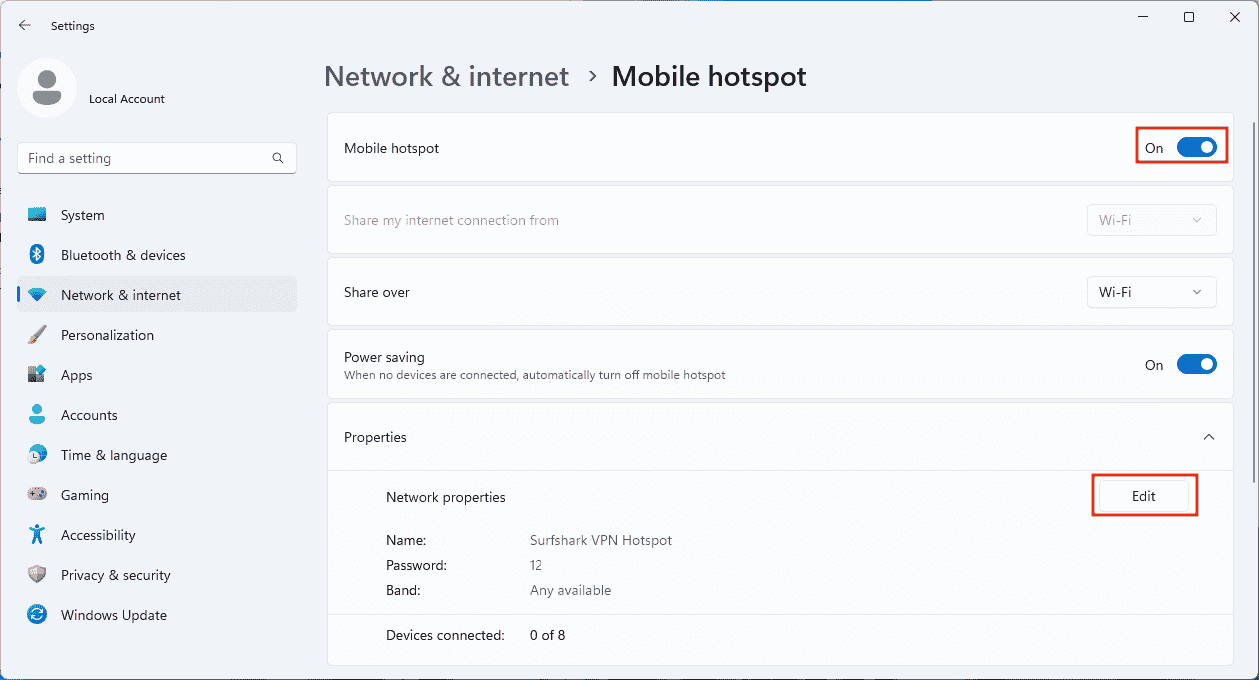
Turn Mobile hotspot by moving the switch at the top. Underneath, you will see information about this hotspot network.
Network name network appear devices searching new Wi – Fi connections .
Network password is the password that you will need to enter to connect to this network.
You can set your preferred name and password by clicking Edit.
Configure VPN adapter
-
You will notice that a new network adapter has appeared right after enabling the hotspot. This adapter will be used for sharing the internet connection from your Windows PC.
-
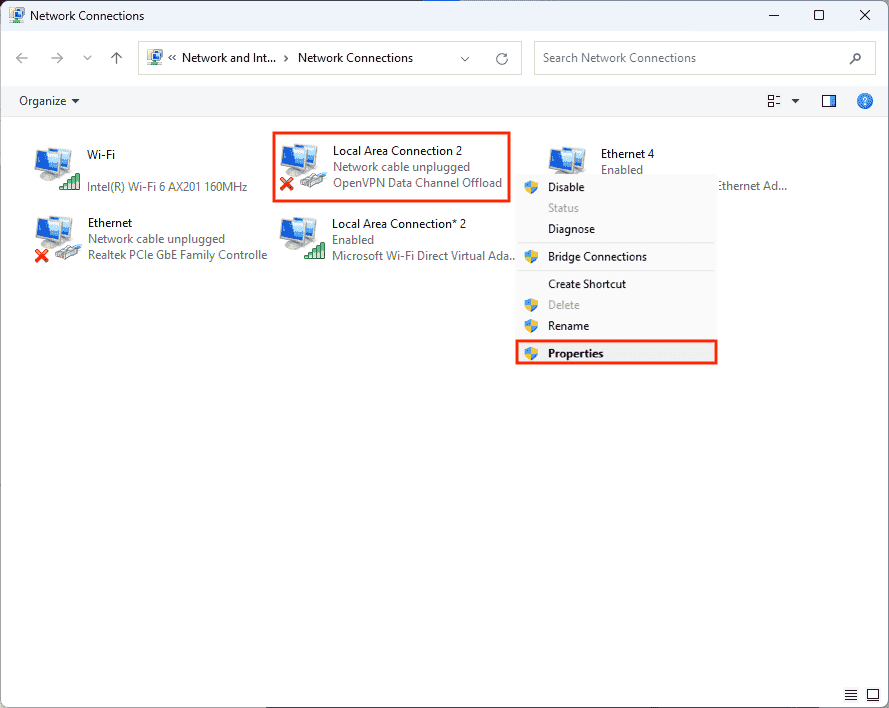
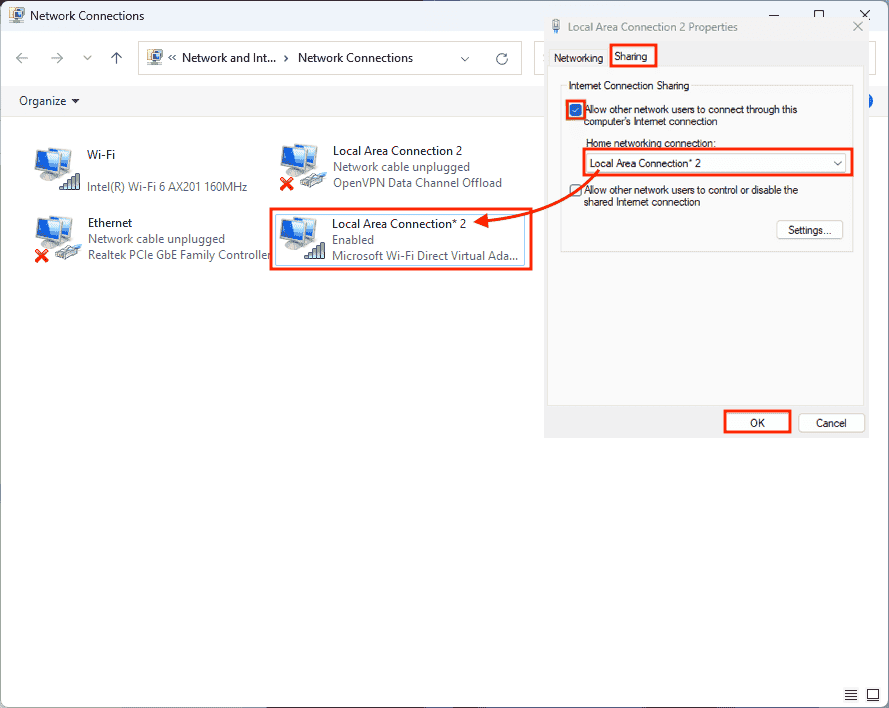
Right-click the network adapter of Surfshark and go to Properties.
-
pop – window ,Sharing section. Check the first box (Allow other network users to…) Also, choose the name of the network adapter that will be used. Make sure that you choose the name of your hotspot network adapter (the new one that has appeared after enabling Mobile hotspot). Finally, click OK.
Connect to the VPN
Everything is in place now. The last thing you need to do now is connect to the VPN. All previous configurations of network adapters will remain there, and you can use them anytime without repeating the setup process.
-
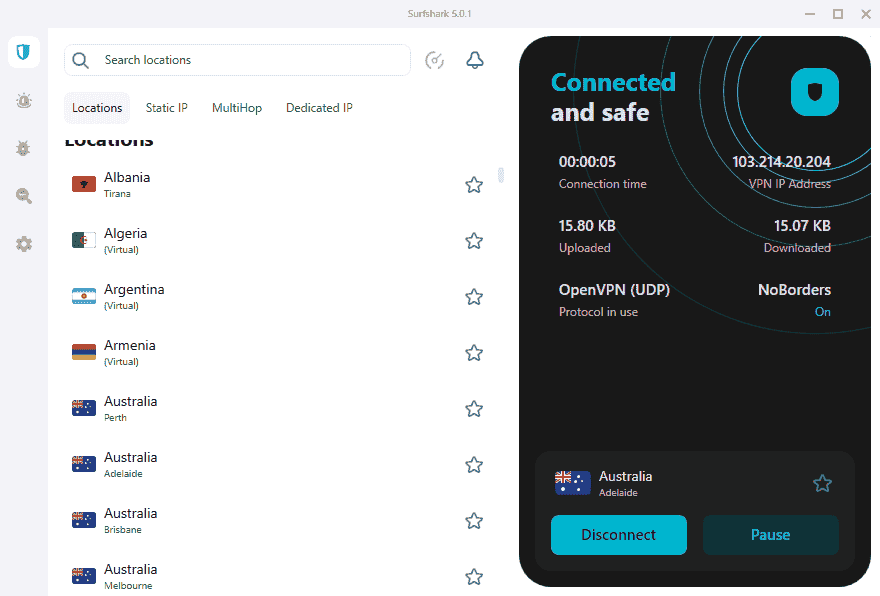
Firstly, download the VPN for Windows. Once you do, launch the Surfshark app, go to Settings -> VPN Settings -> Protocol, and change the default protocol to OpenVPN (UDP). , connect preferred location .
NOTE: You can also use OpenVPN (TCP) that is ‘s prefer .
That’s it! All devices connected to this hotspot network will now be protected with a VPN.
Ensure your connection is working
Try to search for new Wi-Fi networks using your phone or any other device. You should find a new network with the name you have chosen for your hotspot. Or the default name of your Windows if you have not changed it.
Connect enter password . Referstep 3 of Turn Mobile hotspot section if you cannot remember the password.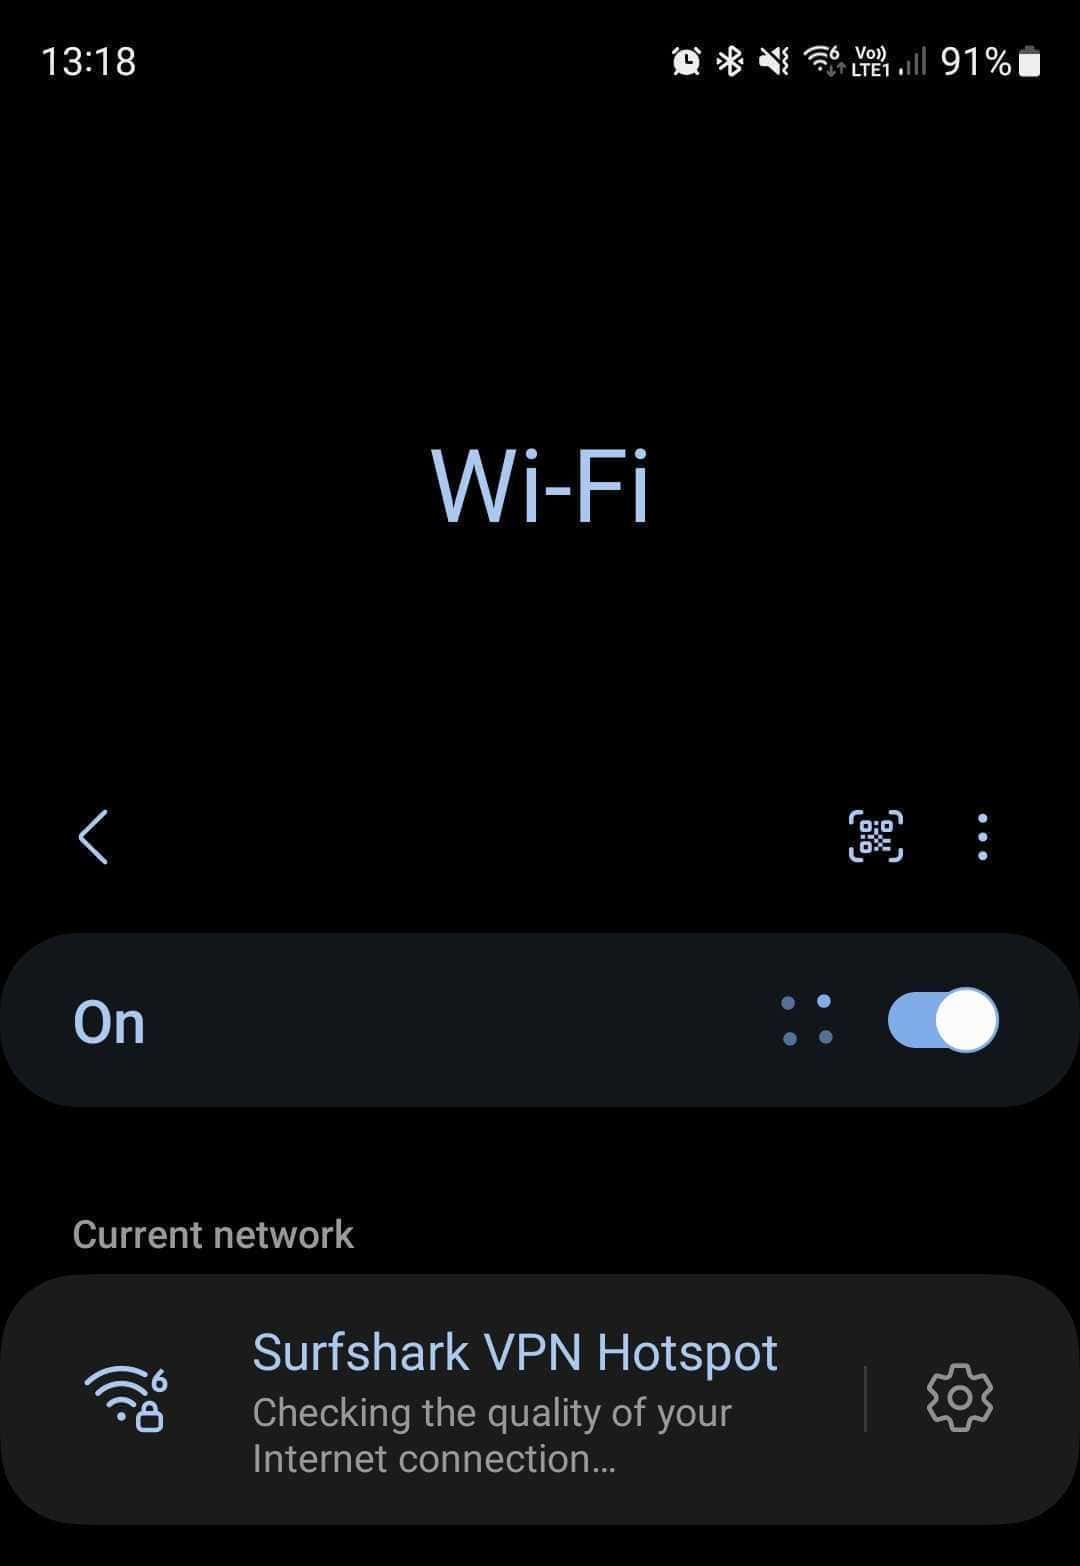
Now, if you perform an IP test, you will see your new IP address from the Surfshark server that you have connected to on Windows. You can also check sure Surfshark VPN working.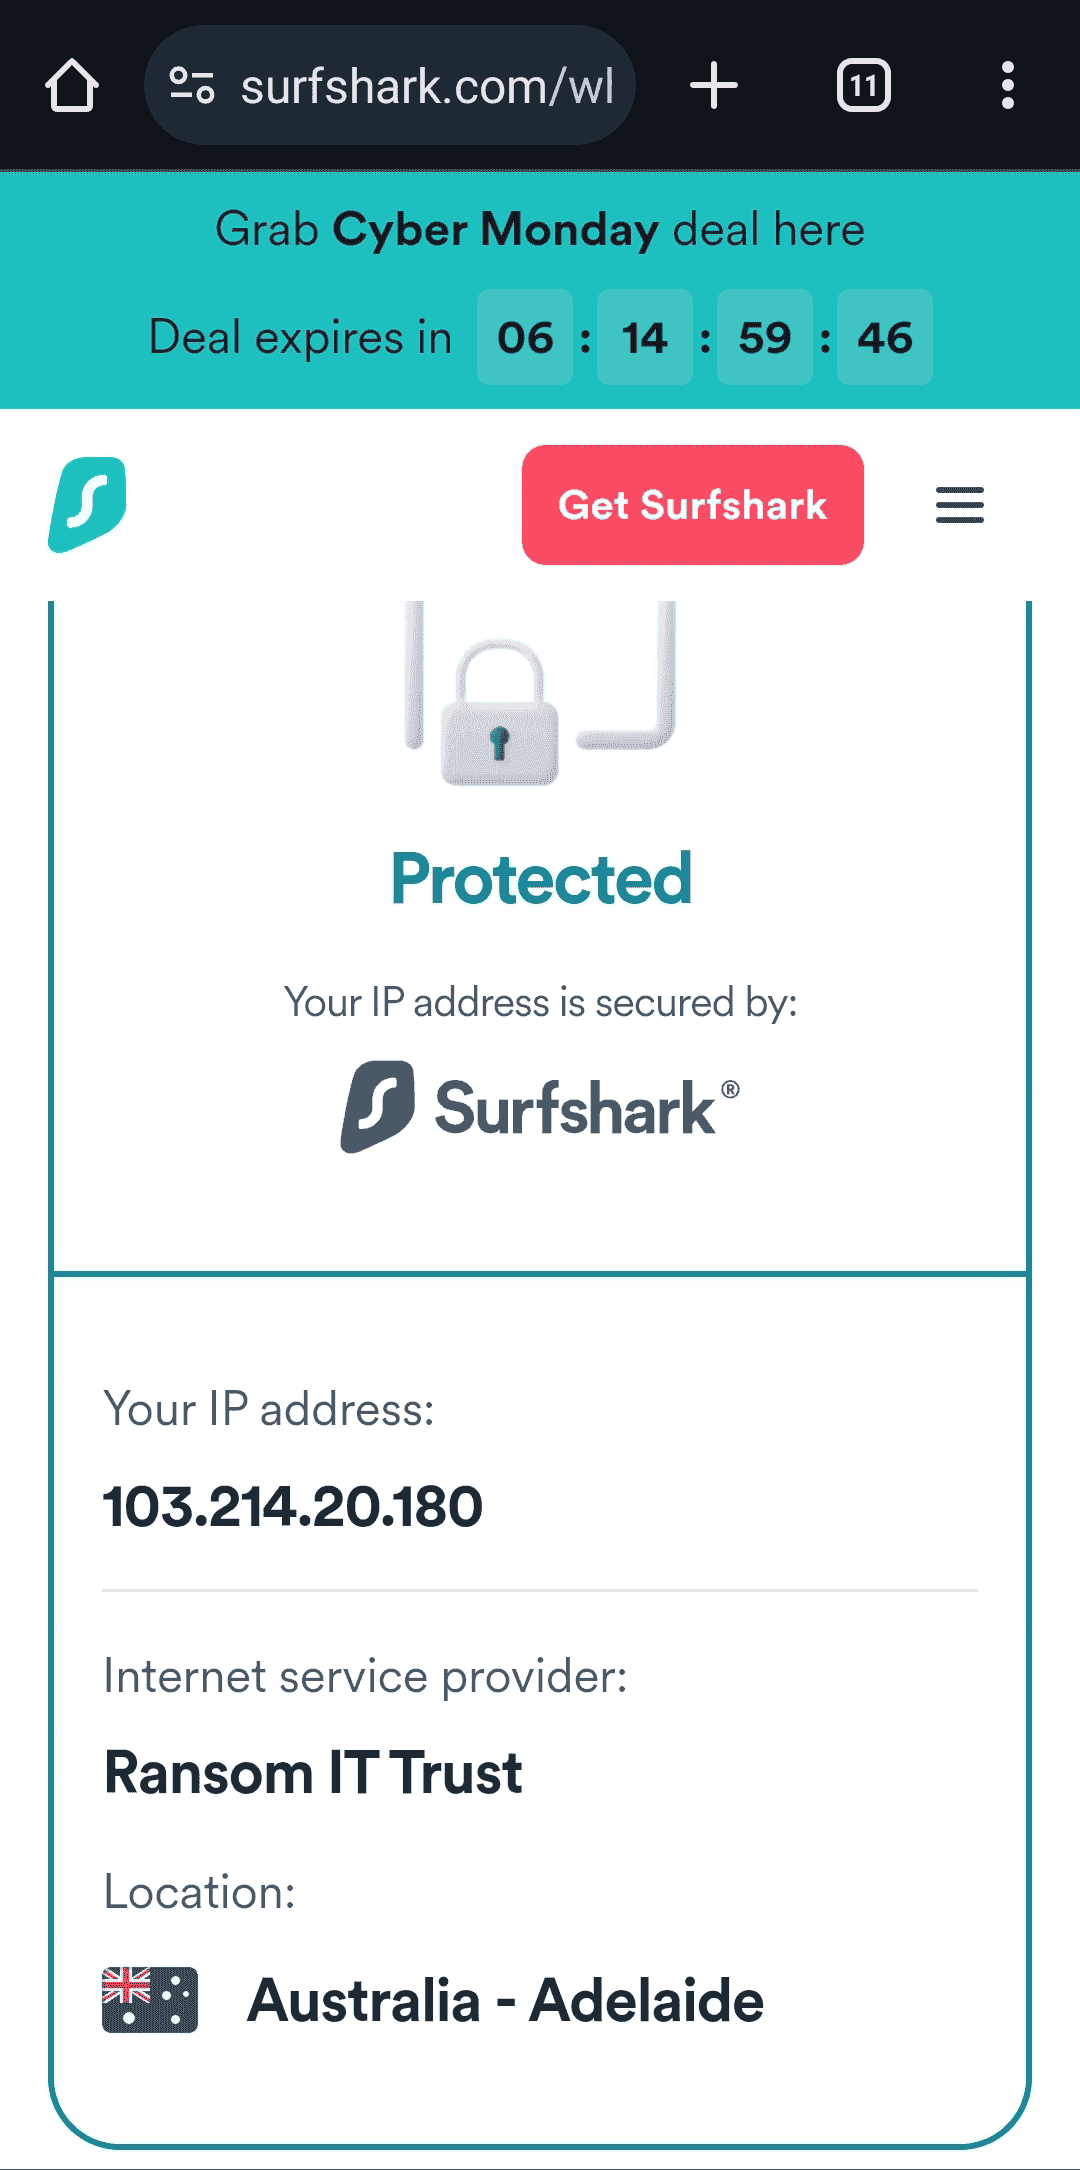
You may also be interested in:
- How to make sure if my connection was successful
- set router Surfshark
- Can I share my VPN connection from my phone using a mobile hotspot?
Was this article helpful?
Thank you for your feedback!
© Copyright notes
The copyright of the article belongs to the author, please do not reprint without permission.
Related posts


No comments...