

A Cloud Walker kit (65inch, vintage plane with 3 channel controls, from Valueplanes) was brought by Santa in Dec21.. I was longing to have vintage plane for some time and I did not waste time to start the build.
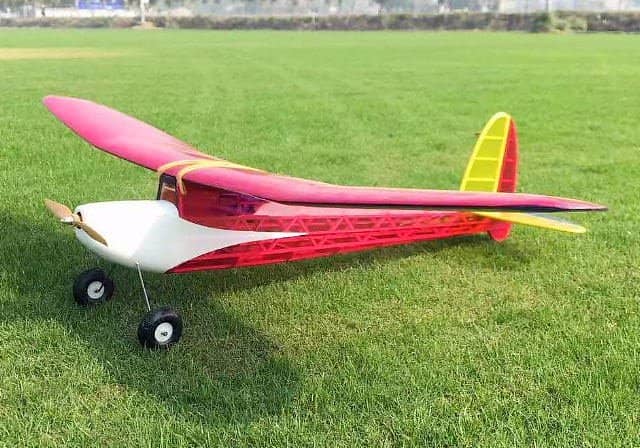
- Wingspan : 1650 mm (65 inches)
- Length : 1240 mm (49 inches)
- cg : 110mm from the leading edge
- AU Weight : 1185 g ( approx . 2.6 pound )
- Covering : Lightweight Iron – on HK film ( Transparent Red and Solid White )
- Radio : Three Channel
- Servos : 17 Gram metal geared
- ESC : Volantex 30 Amp ESC
- Motor : Overlander 3530 motor 340 Watts
- Battery : 3S 3200 mAh LiPo
- Prop : 10x is gives 6 give 225 watt ( 11 x 3.8 give 280 watt )
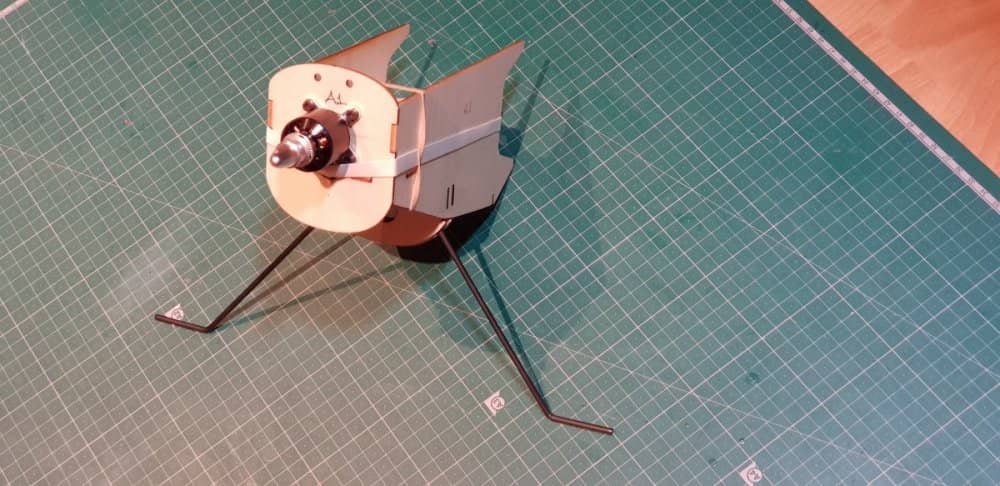
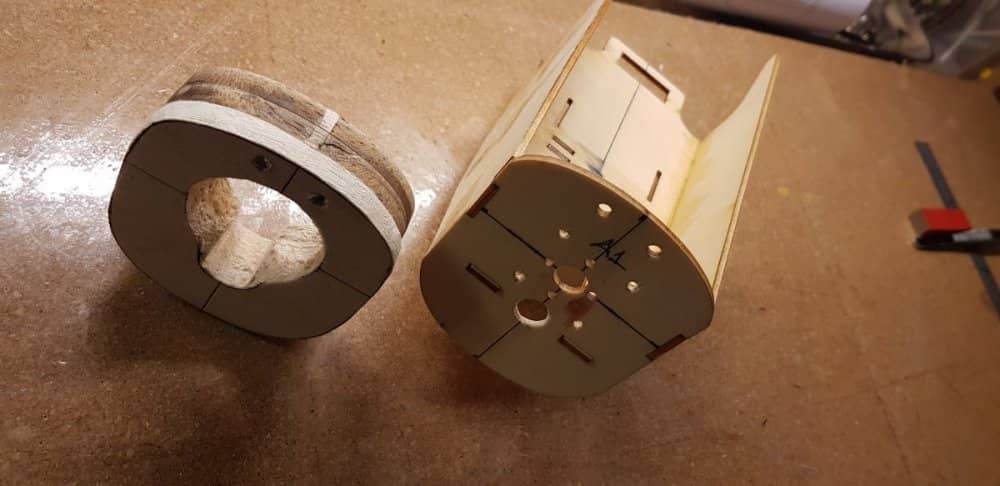
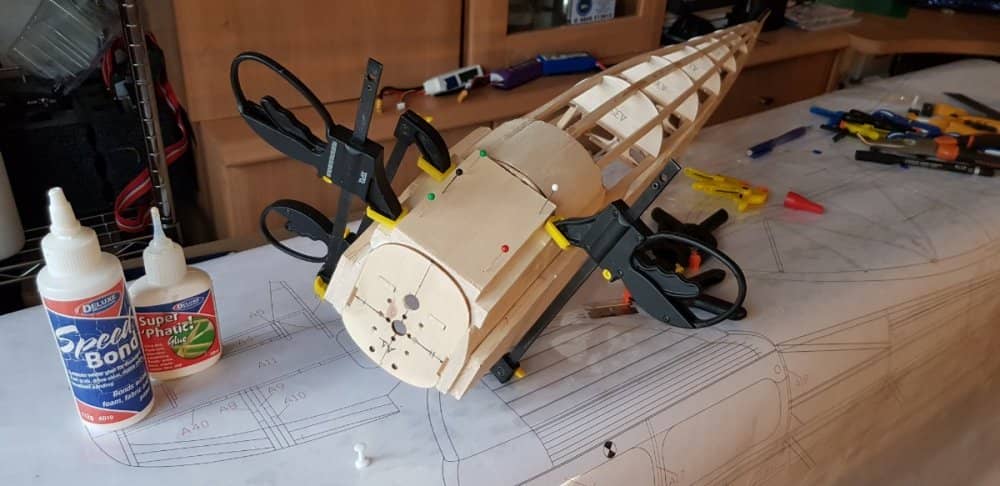
I started the build with the fuselage. First I checked that the motor fits and aligns with the cowling. Started with a 2836motor initially which was mounted at the front of the firewall.
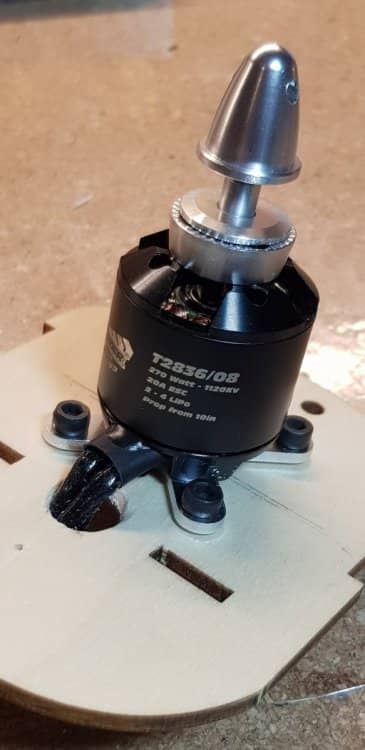
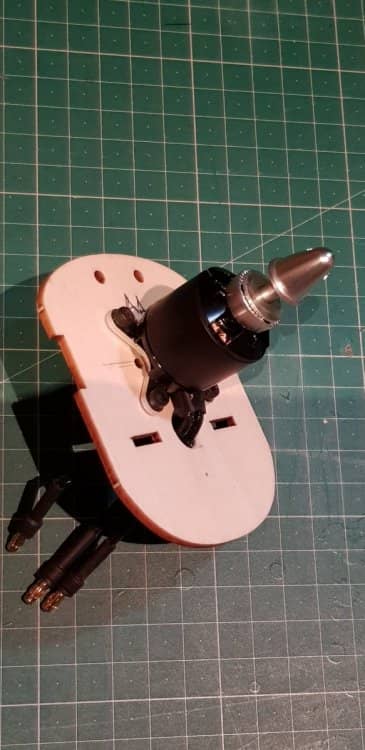
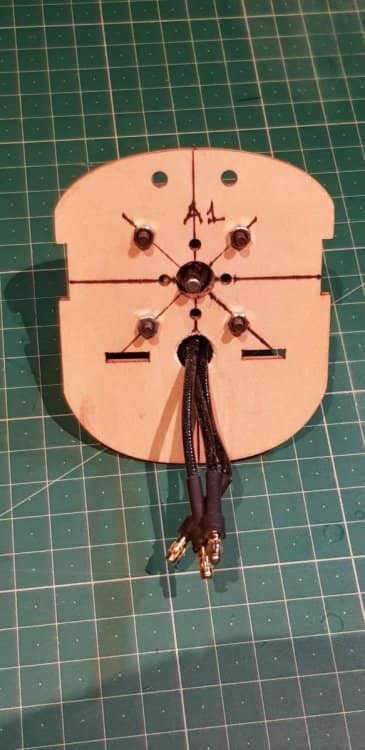
Connected the motor t the firewall and tested its fitting into the nose section together with the under carriage.
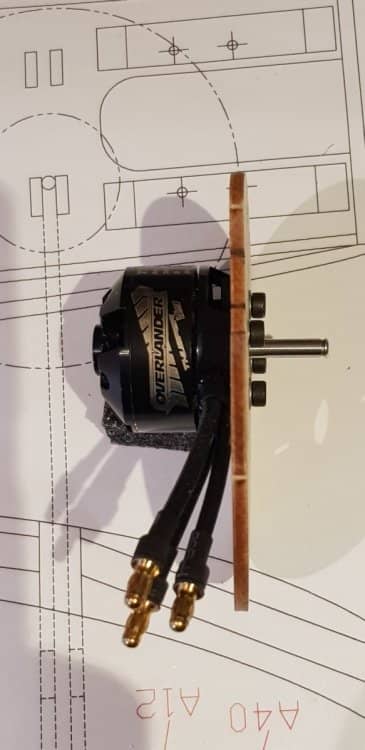
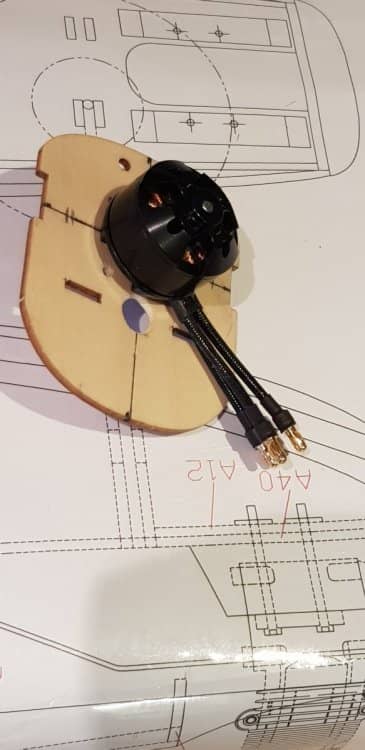
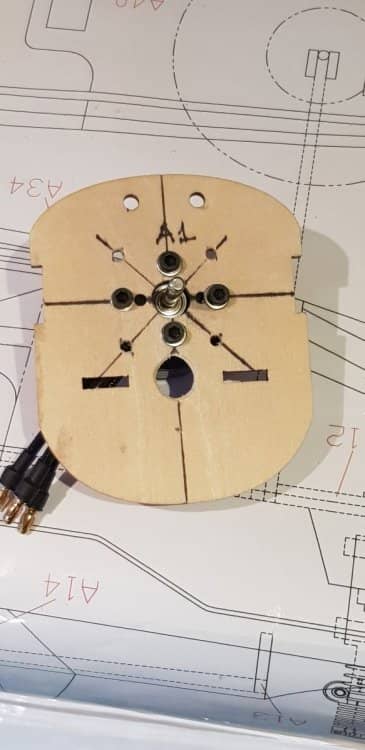
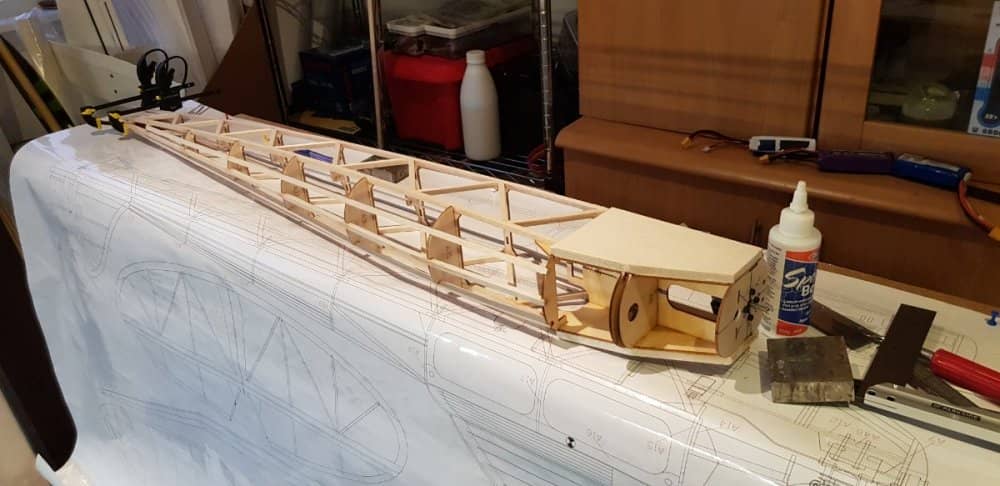
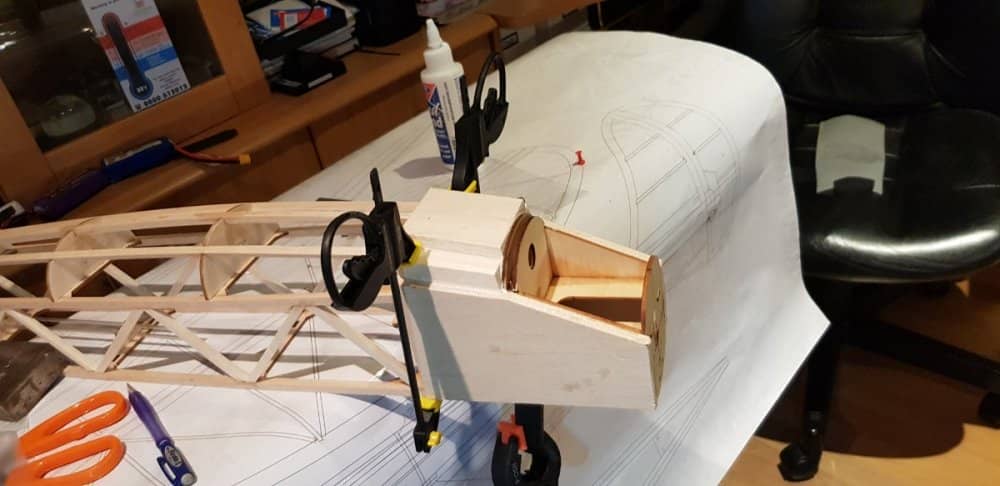
later this was change motor to Overalander 3530.This was connect to the back of the firewall . This is gave give a much neat placement with a short cowl and clean propeller connection .
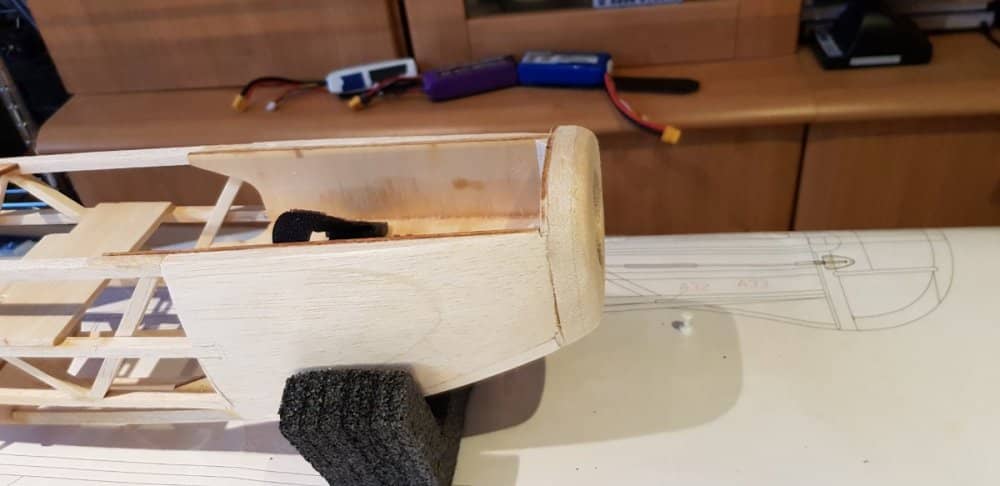
Te motor box and the nose section was assembled ad the cowling was initially build with an extra section 3 layers rather than 2 but this was then reduced back to 2 layers to allow fitting of the propeller easier without a shaft extension.
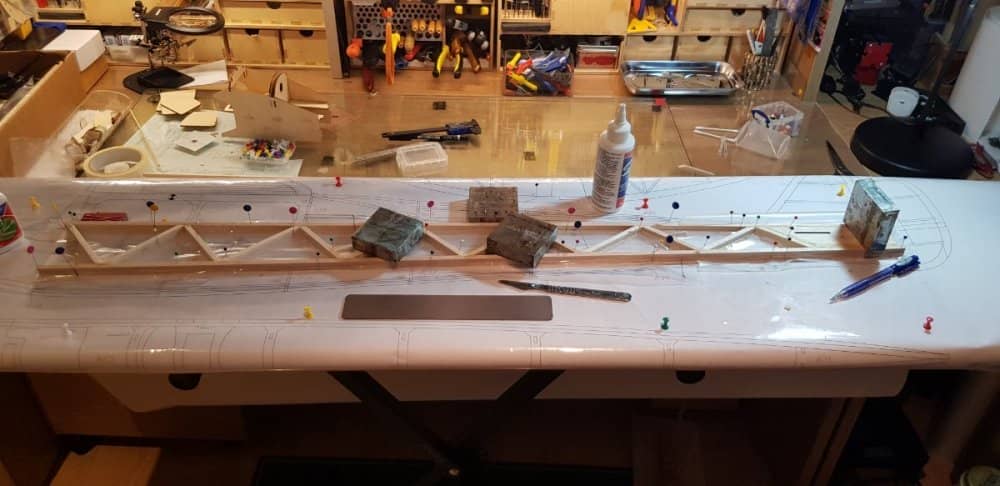
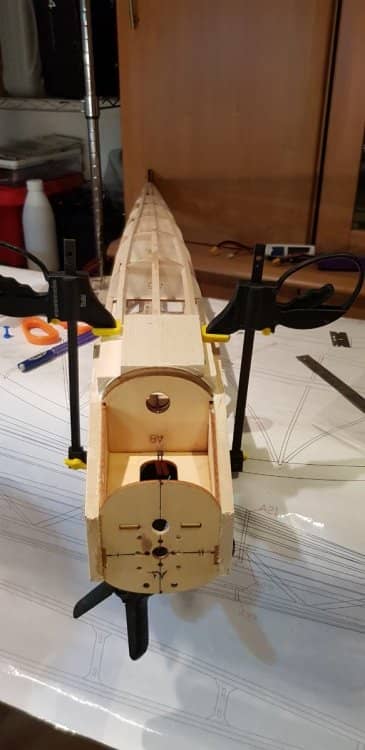
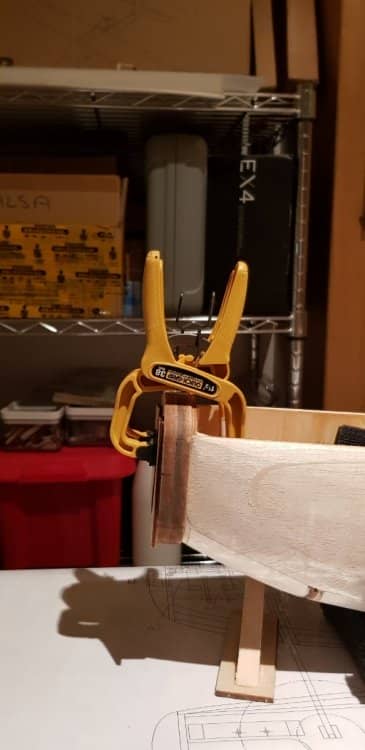
The sides of the fuselage were built together and then connected to the nose box.
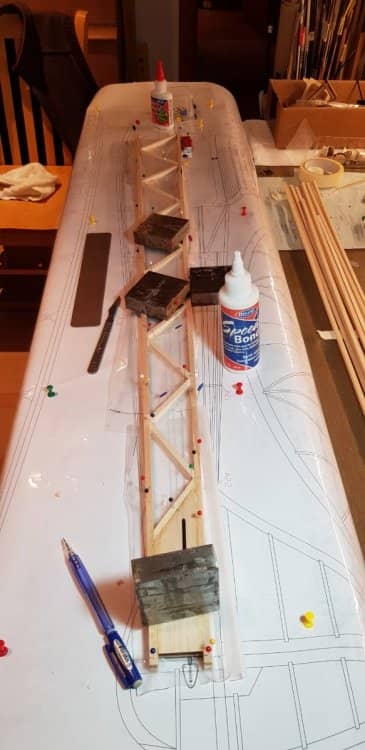
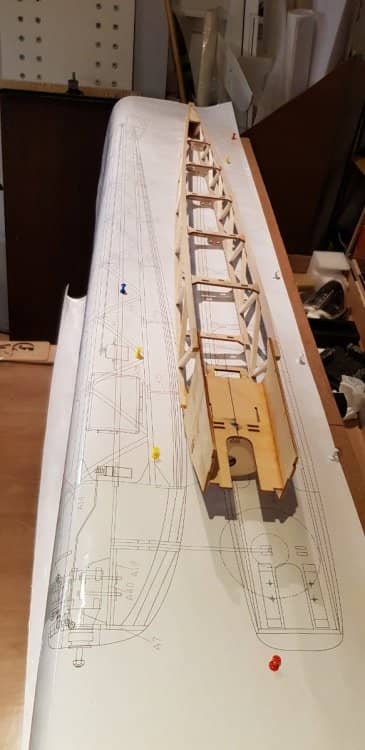
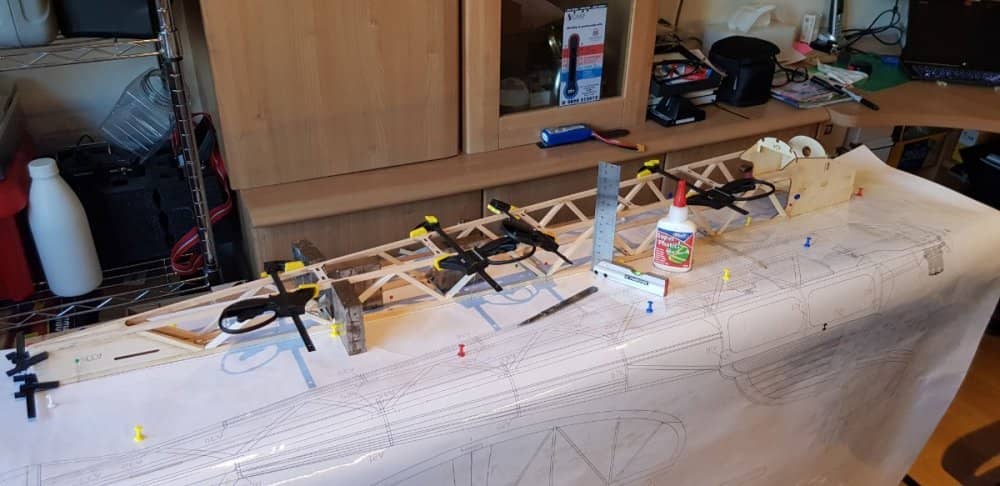
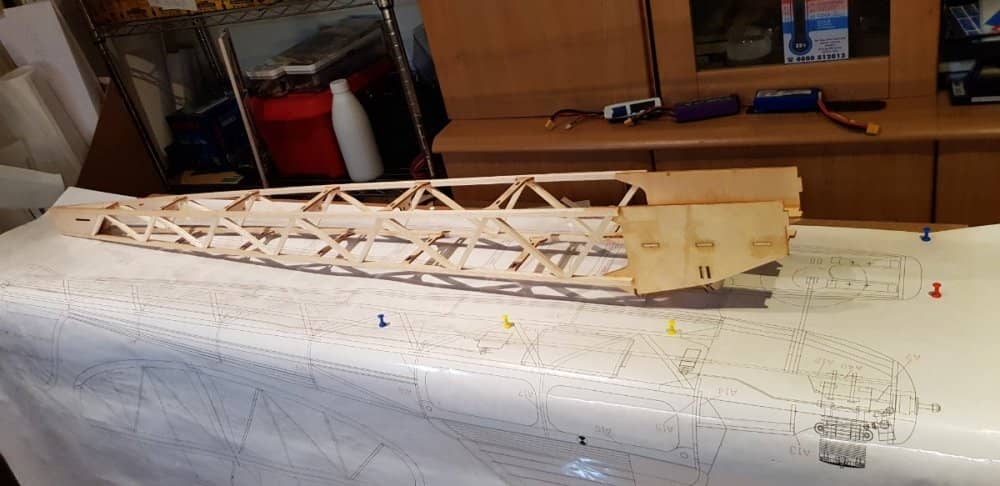
Then the bottom deck former and the snake guide were glue in place .

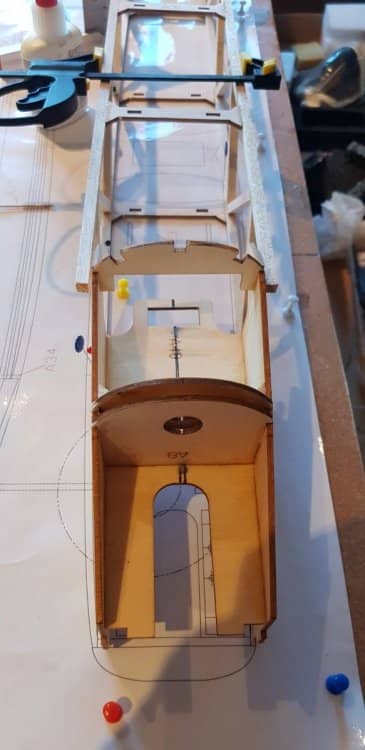
The motorbox / nose section cheek were glue and shape before the turtledeck former and stiner are glue .
To be continued……………..
Edited by Murat Kece 1
Corrections
© Copyright notes
The copyright of the article belongs to the author, please do not reprint without permission.
Related posts


No comments...